Blog / Affiliate marketing
How to Create a Landing Page Step by Step? (Part 1)
A landing page is a standalone web page that visitors reach after clicking an ad or link, built around a single goal such as a sign-up or a sale. To create a landing page you need three things: hosting, a domain, and a website builder like WordPress with the Elementor plugin. For affiliate publishers, it unlocks even sensitive offers.
This guide walks you through the full process of building a landing page — from the questions to answer first, through hosting and domain, to installing WordPress and designing your page with Elementor.
What you'll learn from this article:
which four questions to answer before you build a landing page,
how to choose hosting and a domain, and what they cost,
how to install WordPress step by step,
how to design your page visually with the free Elementor plugin.
What is a landing page and why do you need one?
A landing page is a single-purpose website shown to users after they click an ad or affiliate link. Unlike a multi-page site, it concentrates attention on one action. For an affiliate publisher, a landing page makes it possible to promote even the most sensitive affiliate programs, increase audience trust, and gather analytical data on visitor behaviour.
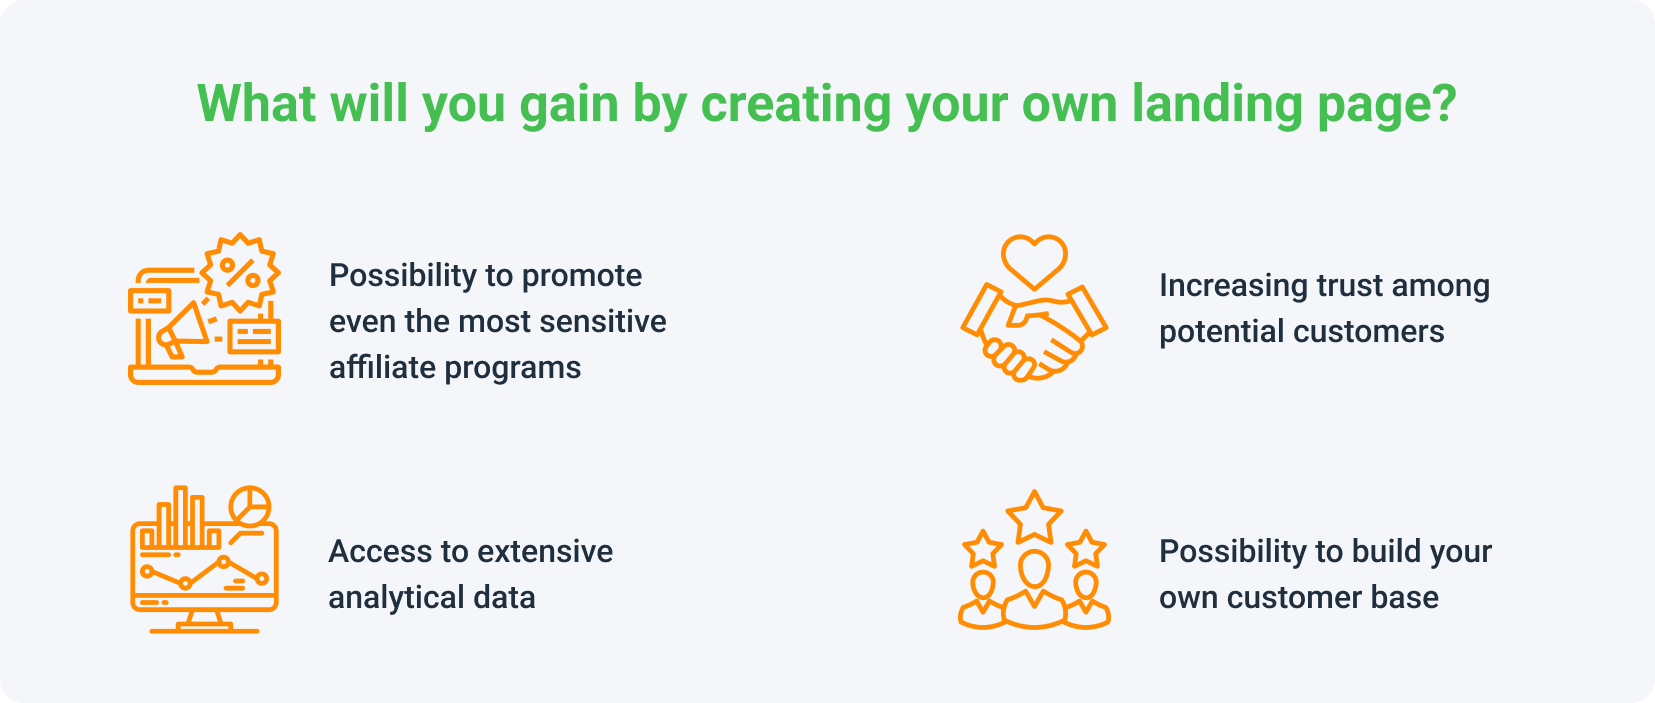
Building your own landing page gives you control that a raw affiliate link never will. Here is what you gain by creating one:
promote even the most sensitive affiliate programs,
increase trust among potential customers,
access extensive analytical data on your visitors,
build your own customer base.
Despite being time-consuming, creating a good landing page is not complicated, and it saves you the cost of hiring a developer. Before you design, study the rules for an effective landing page and plan how you will drive traffic to your website. Once the page is live, monetise it with offers — sign up as a MyLead publisher and promote campaigns that match your audience.
What should you decide before creating a landing page?
Before you create a landing page, four decisions shape everything that follows: your target group, the page's topic and content, its main purpose, and your budget of time and money. Answering them first prevents costly redesigns later, because they determine your layout, colours, domain name, and whether you pick hosting with a ready template or build from scratch.
Answer these four questions honestly before you open any tool:
Who is your target group? The audience defines the look — a page aimed at women suits lighter, pastel colours, while one aimed at men suits darker, subdued tones. Build a user profile to map their needs.
What is the page about and what will users find there? This guides your design and domain name. Apply the rule "less is more" — too much choice confuses visitors and drives them away.
What is the purpose of the page? Decide what the user gains and which service you provide; this drives your template and design-thinking choices.
How much time and money will you spend? This determines your hosting, your domain, and whether you use a ready template or build from scratch.
How do you choose hosting for a landing page?
Hosting is the service of renting space on a server that keeps your landing page online 24/7, because a website stored only on your own computer disappears the moment you switch it off. Good hosting is the first factor that decides whether visitors stay or leave, since slow-loading pages drive users away before they convert.
Good hosting matters because it delivers:
no interruptions in how the website runs,
fast website operation,
a reliable email inbox,
a smaller chance of data loss,
satisfied users who keep coming back.

As a beginner, choose a convenient, intuitive control panel — a shared server fits these criteria best. As your landing page grows with more images and videos, you will need a stronger, faster server. Popular hosting providers include SiteGround, FastComet, and Hostinger. Hosting usually costs $2 to $15 per month, depending on the page size and the server resources it needs.
How do you choose a domain for your landing page?
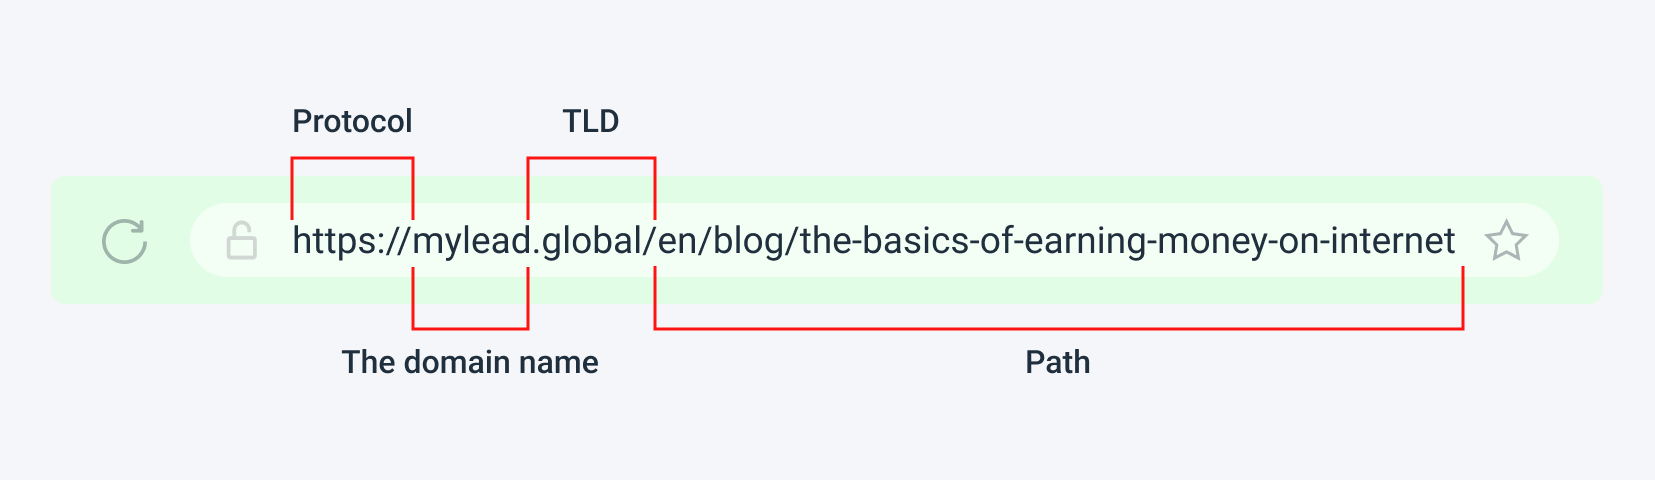
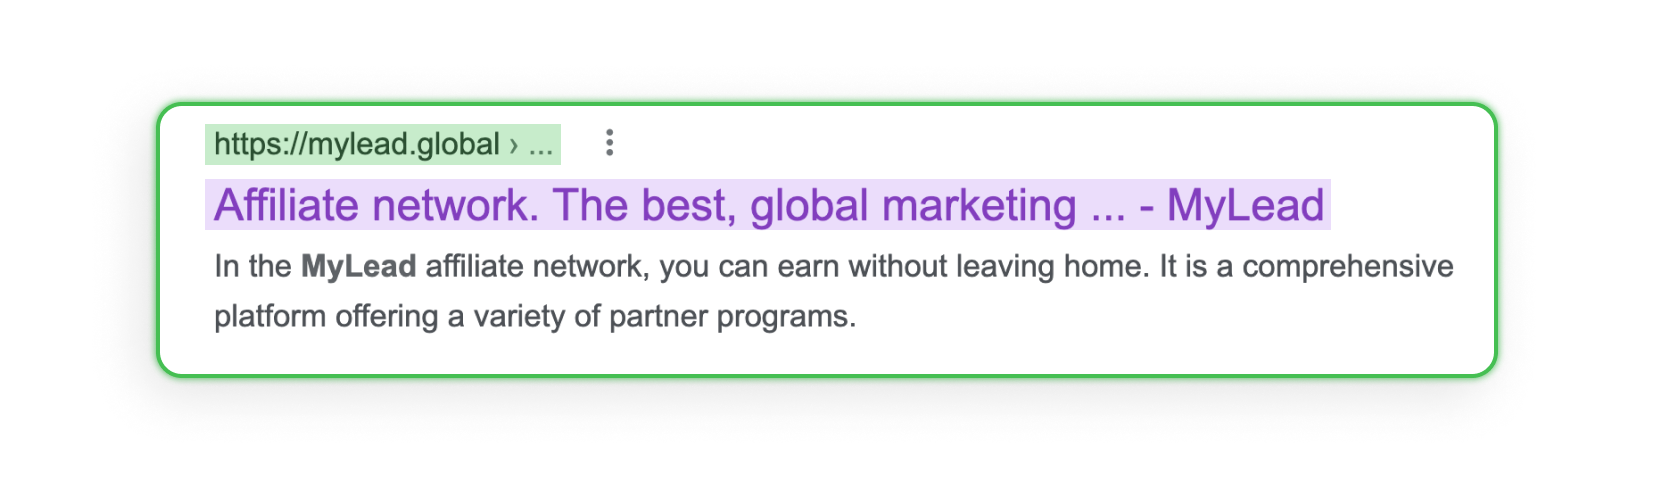
A domain is the unique address users type into the browser to reach your page, such as mylead.global. Every domain is one of a kind and cannot be duplicated. It forms the foundation of your online presence, so a good domain is short, catchy, and easy to remember, with a trustworthy extension like .com for global reach or .uk for the United Kingdom.
A web address has several parts — the protocol, the domain name, the top-level domain (TLD), and the path:
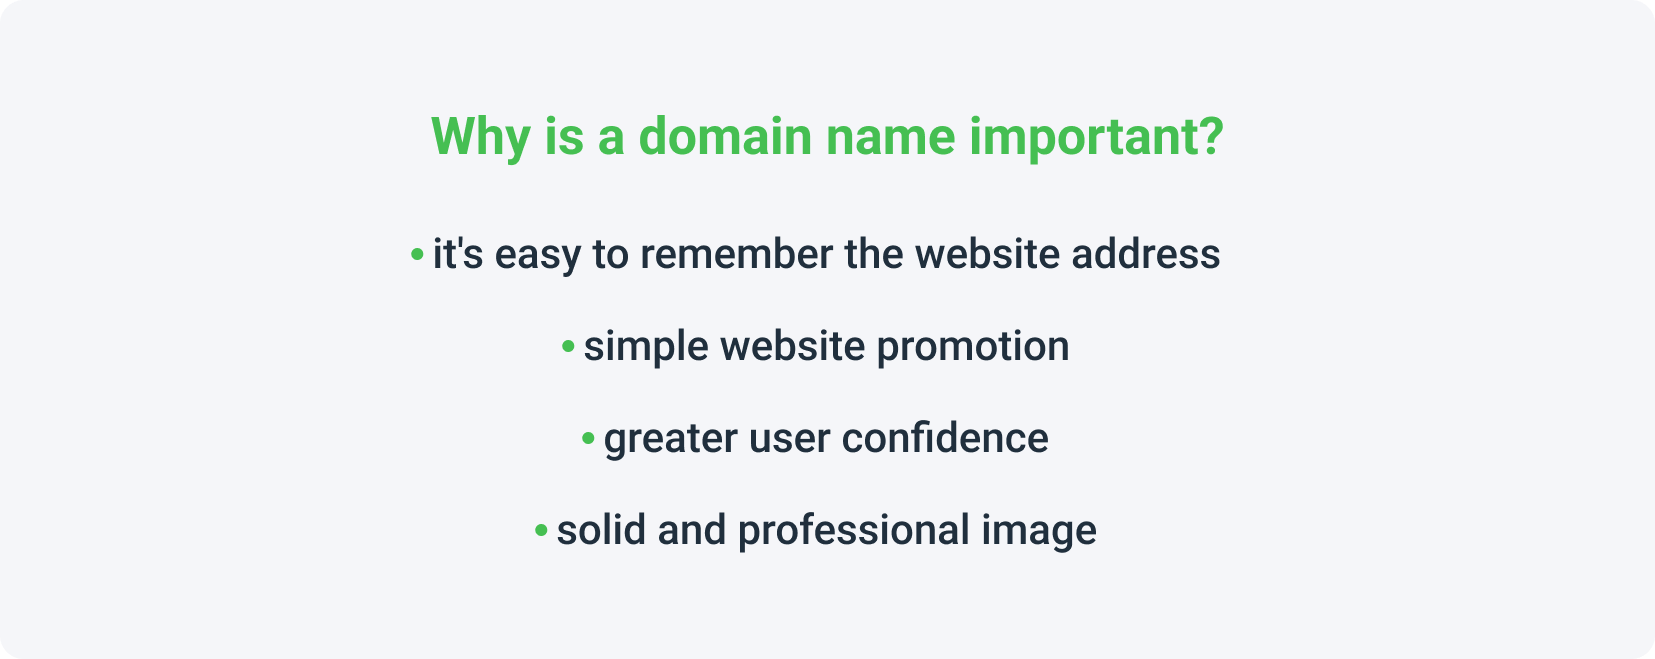
A strong domain name gives you:
an address that is easy to remember,
simpler website promotion,
greater user confidence,
a solid, professional image.
You will often read that a domain should contain your main keyword so search engines promote it. There is a grain of truth here, but making the keyword the entire domain (for example shoesforgym.com) backfires — you compete with every shoe manufacturer, and users wade through ads to find you. A better choice is your own brand name or a brand-plus-keyword combination such as topbestshoes.com.
Popular places to buy a domain include Namecheap, Regery, and OVH. A domain usually costs $3 to $20, depending on the registrar, the name, the extension, and its history. Once your page is live, apply landing page SEO best practices to bring in organic traffic.
How do you install WordPress for a landing page?
WordPress is a free content management system that powers your landing page, and its installation is quick: download the files, create a MySQL database, configure the wp-config.php file, upload everything to your server, and run the installer. Ready-made builders are simpler but offer fewer options, so for a complex page WordPress is the stronger base.
This guide uses WordPress as the example, but it is not the only option. Platforms such as Mobirise, Wix, and Zyro offer ready templates where you only connect your domain — at the cost of flexibility. WordPress also powers most blogs, so the same skills help if you later decide to start a blog. The manual installation below downloads the files and uploads them to your server.
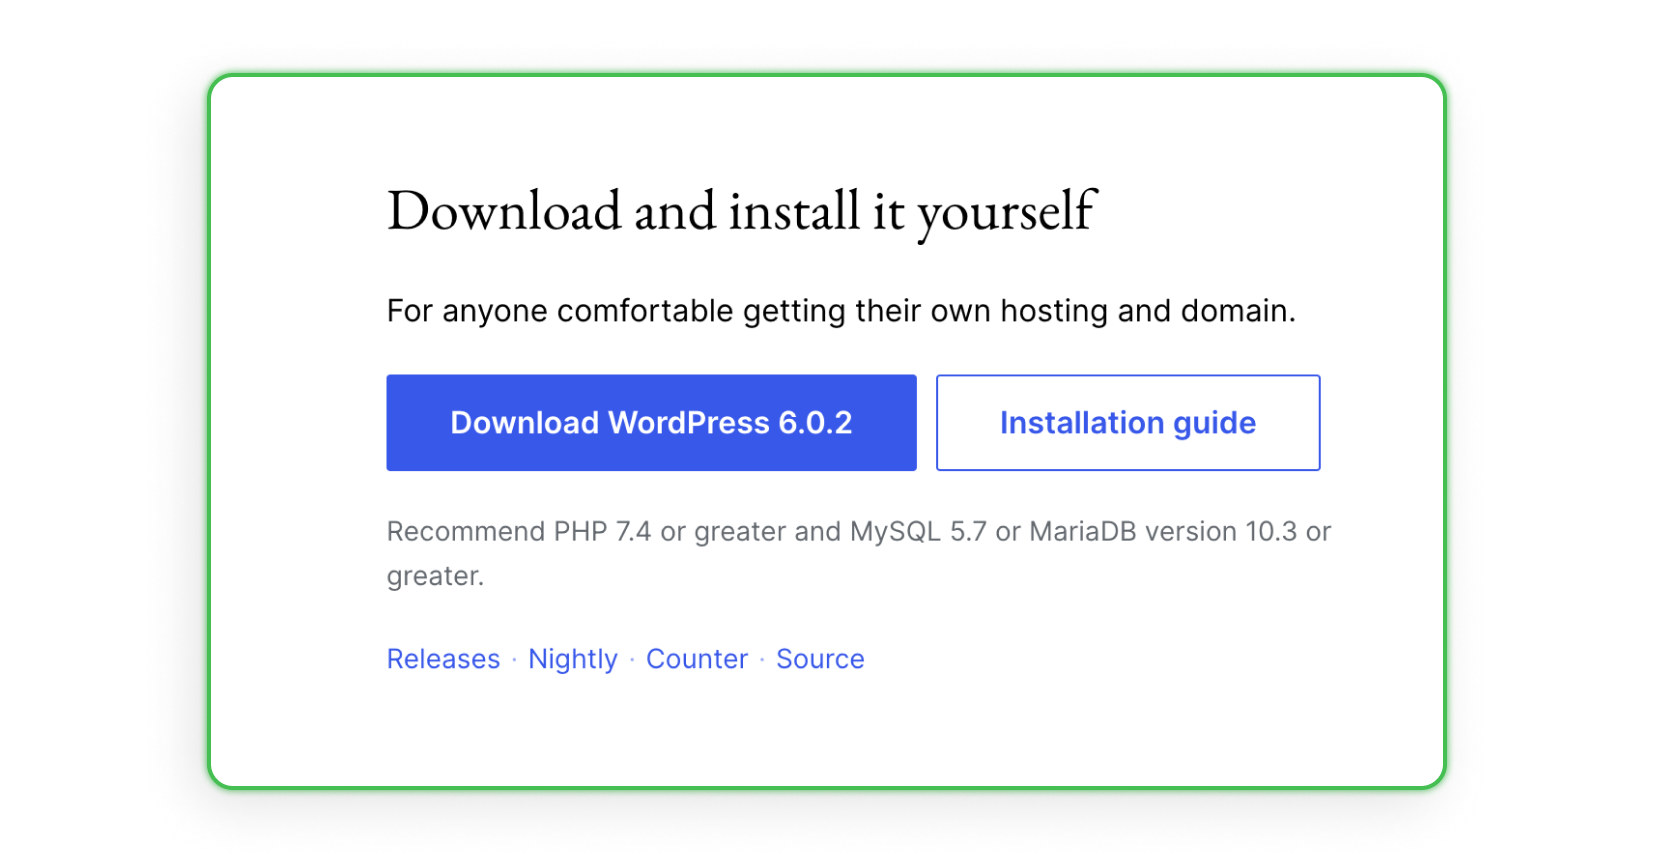
Step 1 — Download WordPress
The first step is downloading the official WordPress installation package from the WordPress.org website. The download page also lists the recommended environment — PHP 7.4 or greater and MySQL 5.7 or MariaDB 10.3 or greater — which your hosting should support so the system runs smoothly.
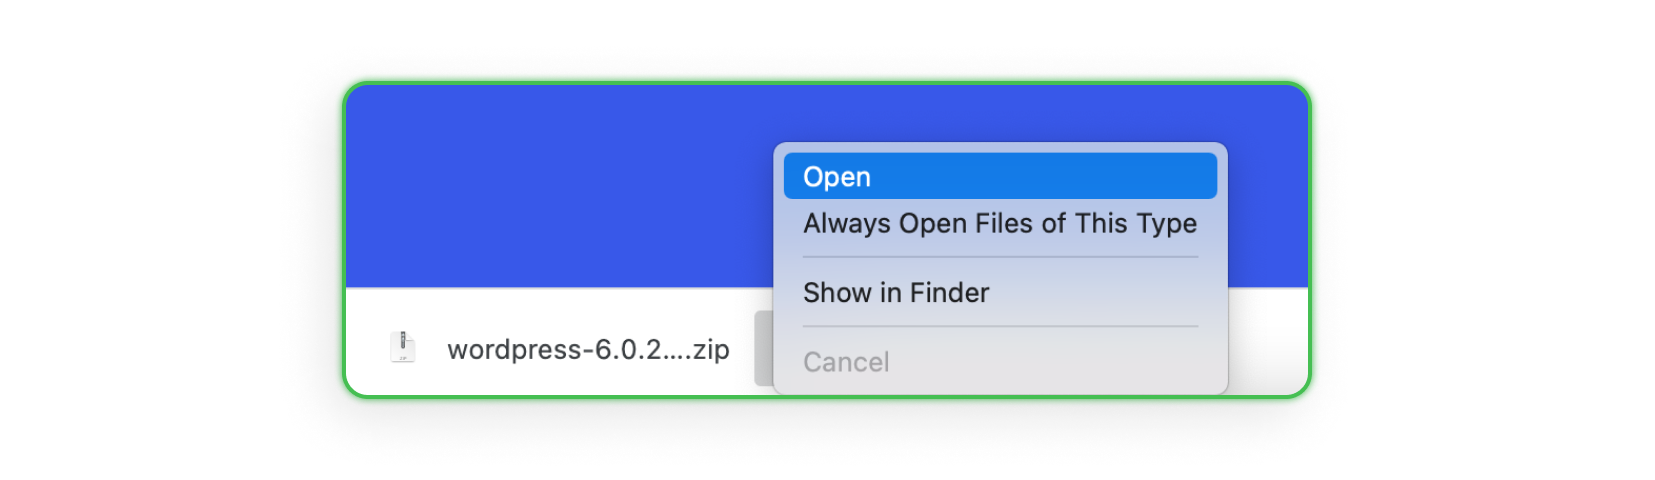
Step 2 — Unpack the files
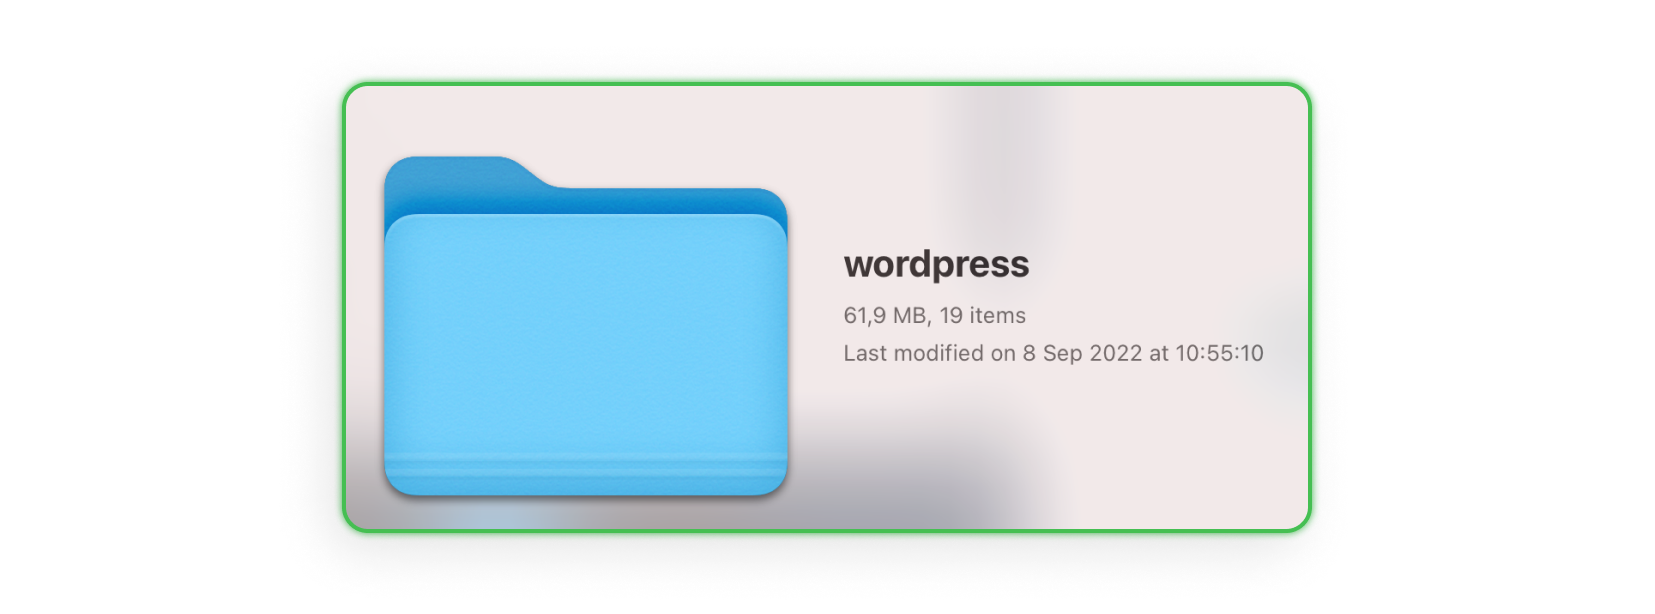
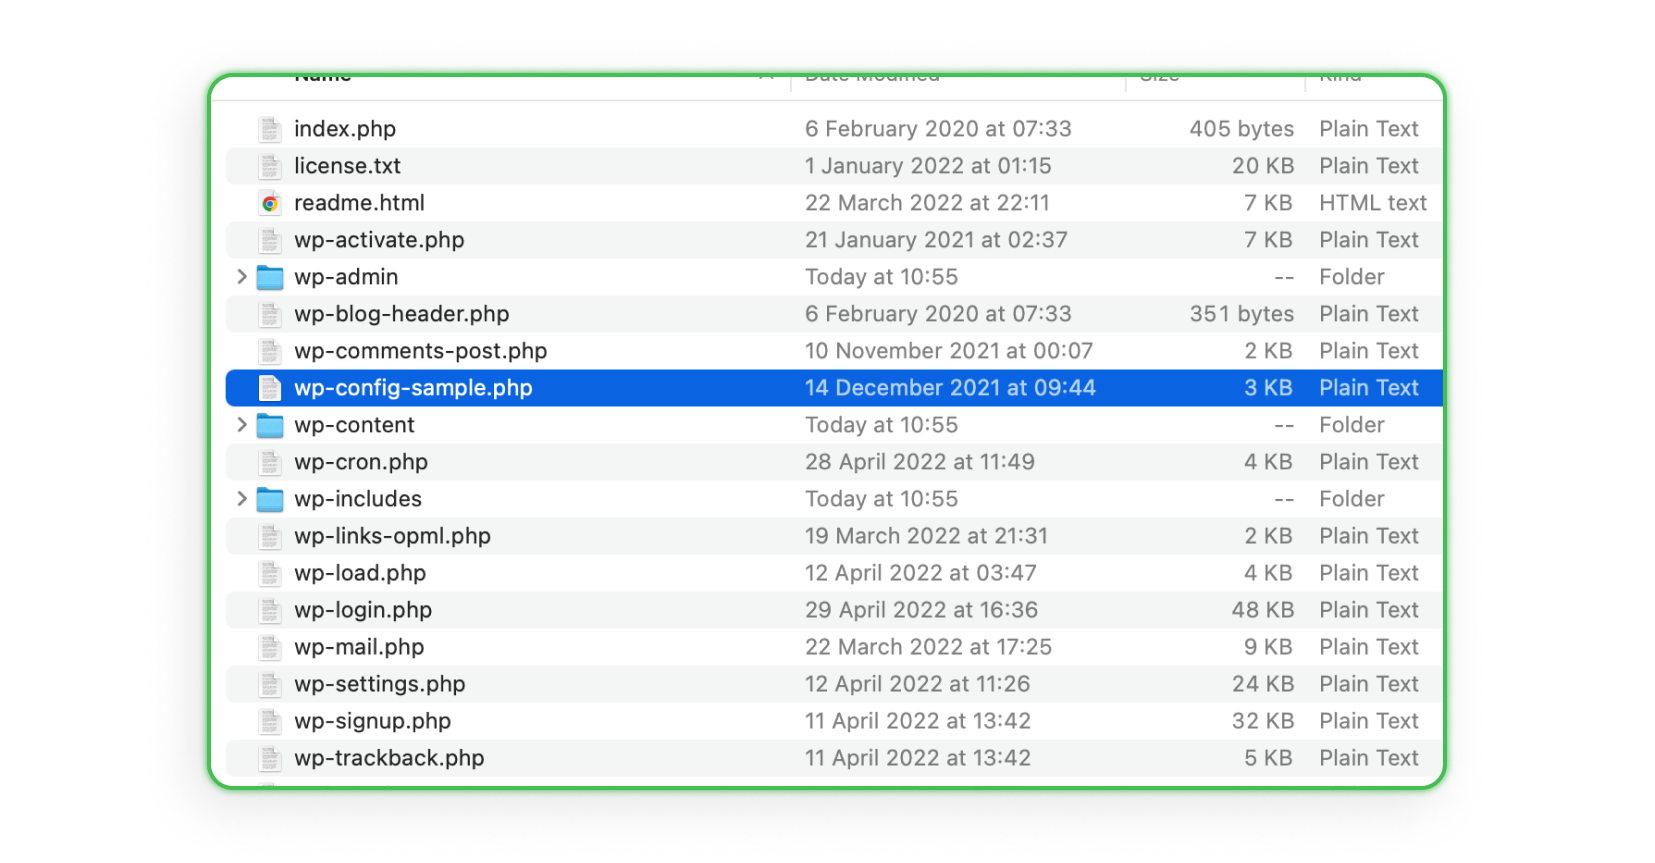
After the download finishes, you unpack the archive. Inside you will find 19 files; locate wp-config-sample.php, copy it into the same folder, and rename the copy to wp-config.php. This sample file comes from the default WordPress template and contains lines you will complete with your own data.
Click the downloaded .zip archive:
Then open the wordpress folder:
Copy wp-config-sample.php and rename the copy to wp-config.php:
Step 3 — Create a MySQL database
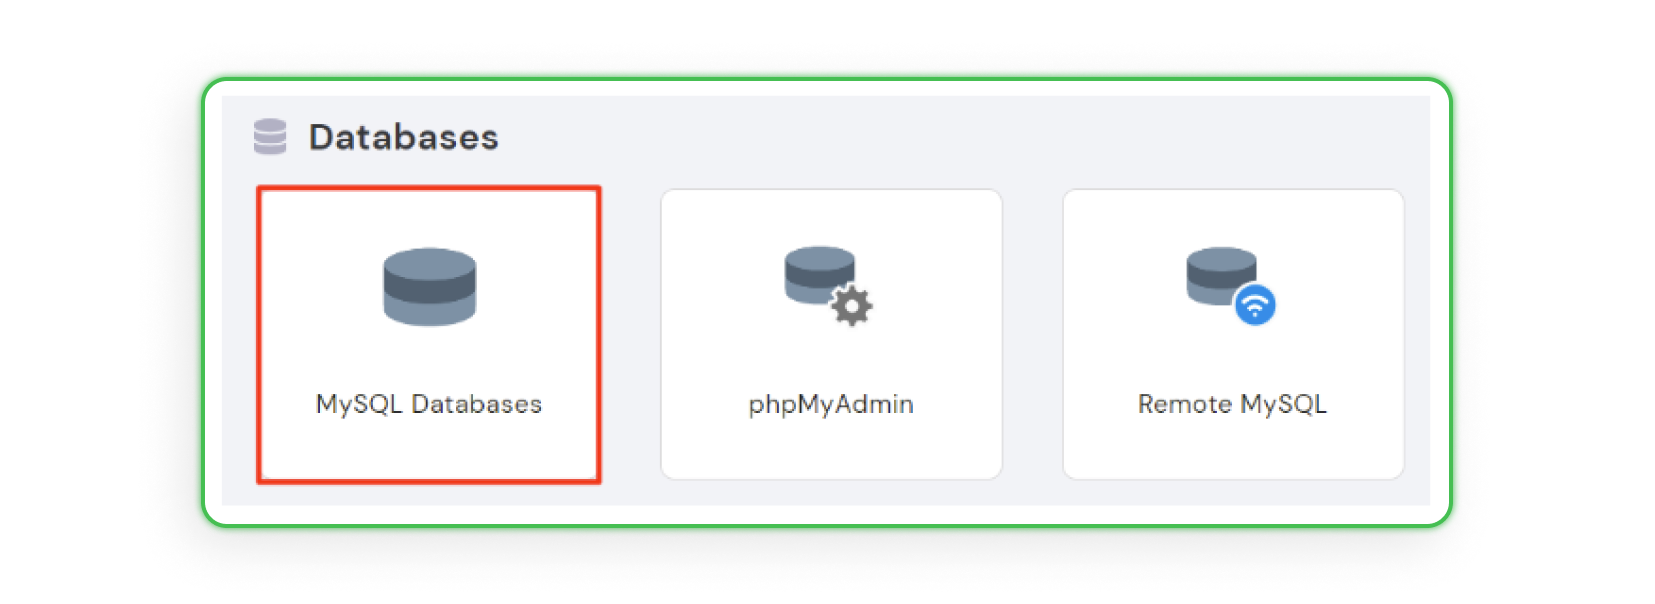
WordPress relies on a database to store its content, so before installing you create a MySQL database. A database is a collection of data saved under specific rules, and MySQL is one of the most powerful, able to handle huge numbers of queries. In your hosting panel, open Hosting → Manage → MySQL Databases to begin.
Open the MySQL Databases page in your hosting panel:
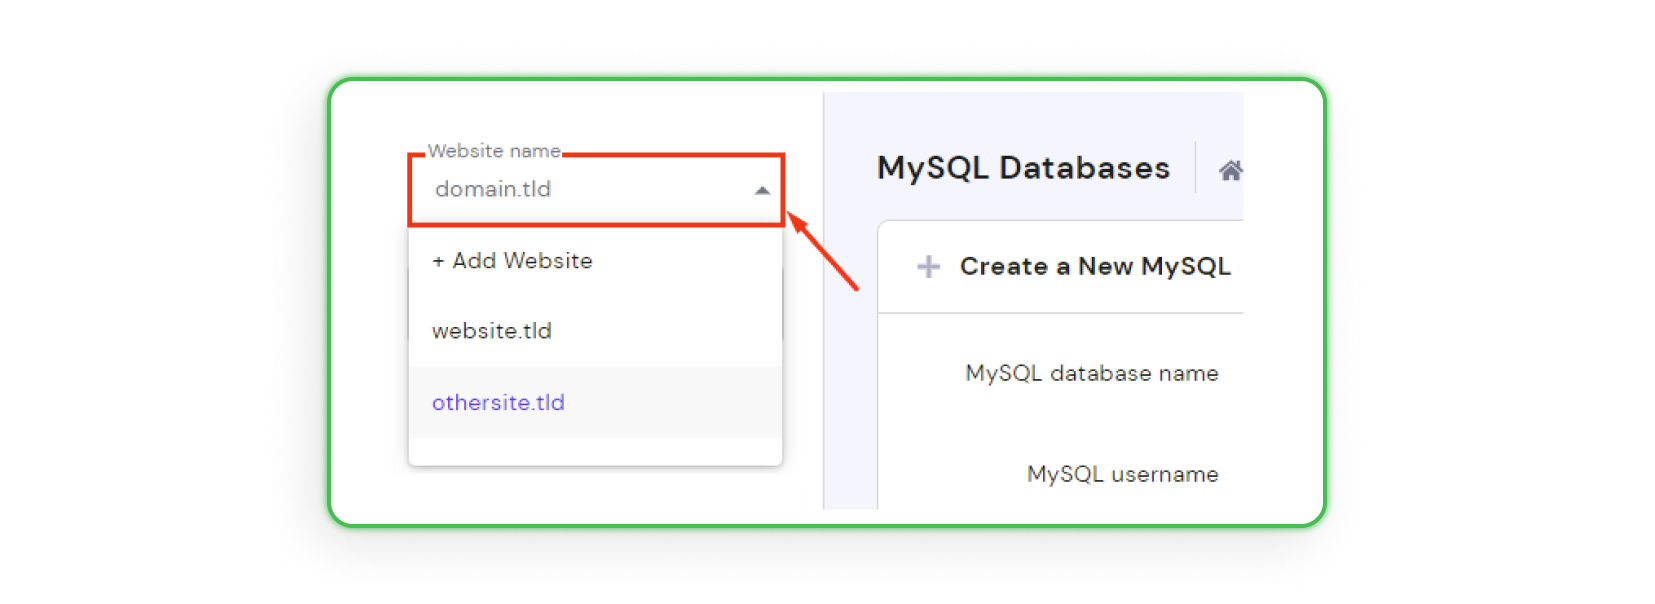
Choose the website the database will be assigned to:
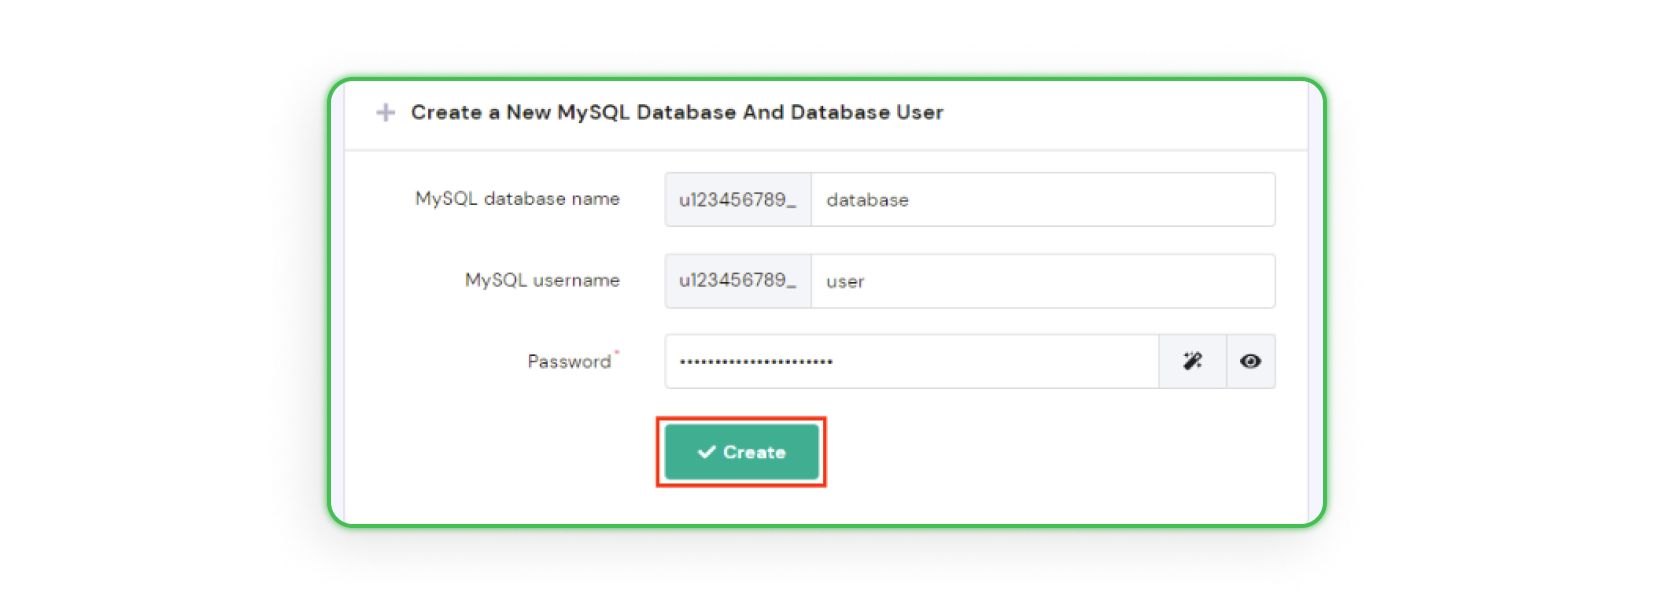
Enter the database name, username, and password, then click Create:
Step 4 — Fill in the wp-config.php file
Now WordPress needs your database details. Open wp-config.php in a plain-text editor — Notepad++ on Windows or TextEdit on macOS — find the relevant lines, and replace the placeholder values with the database name, username, and password from Step 3. Save the file once every value is correct.
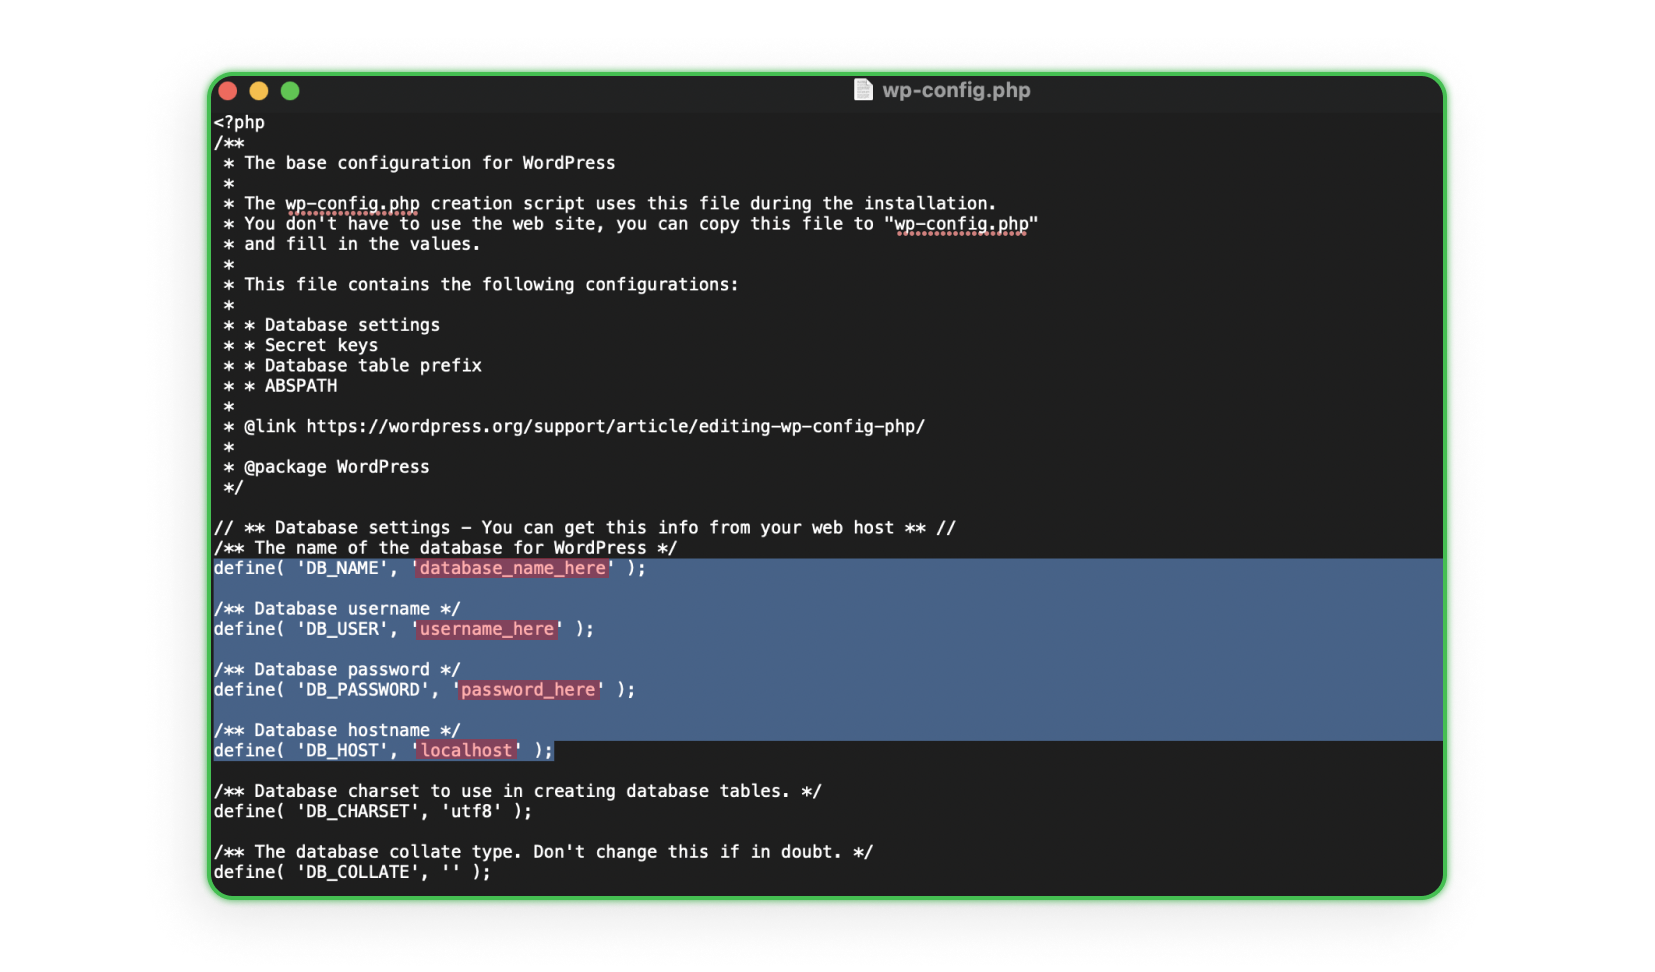
Three points to remember:
Keep the apostrophes — every value must stay between the ' ' characters.
The database and user names include the prefix from your server (for example name_enteredvalue), not only the value you typed.
localhost is the database server address and usually stays unchanged; if you get "Error establishing a database connection", check your database summary or ask your host for the correct address.
Step 5 — Set up the server connection in FileZilla
Files reach the server over FTP. Using FileZilla, you first configure the connection: find the FTP address, login, and password your host emailed you, then open File → Site Manager → New Site and create a named connection. If you never received these details, ask your administrator for the FTP address and a user.
In Site Manager, complete these fields:
Host: the server link that starts with ftp.servername.com,
Protocol: FTP — File Transfer Protocol,
Encryption: use explicit FTP over TLS if available,
Logon type: normal,
User: your FTP username,
Password: a strong password (use a generator).
Then click Connect.
Step 6 — Upload the files to the server
With the connection live, the remote-server panel on the right side of FileZilla activates. Place your files in the public_html (or www) subfolder — never the root — usually under domains → domainname.com → public_html. Delete the existing files there, then move every WordPress file except wp-config-sample.php from the left panel to the right. The transfer takes a few minutes.
If you cannot locate the correct folder, the exact path varies by host, so contact your hosting support. When the upload finishes, disconnect from the server — your website is now on the internet.
Step 7 — Install WordPress
The final step runs the installer. Enter your website address in any browser; it should redirect to http://yourwebsite.com/wp-admin/install.php. If it does not, type that address manually, replacing the domain. The installer then asks for your site title, username, password, email, and search-engine visibility.
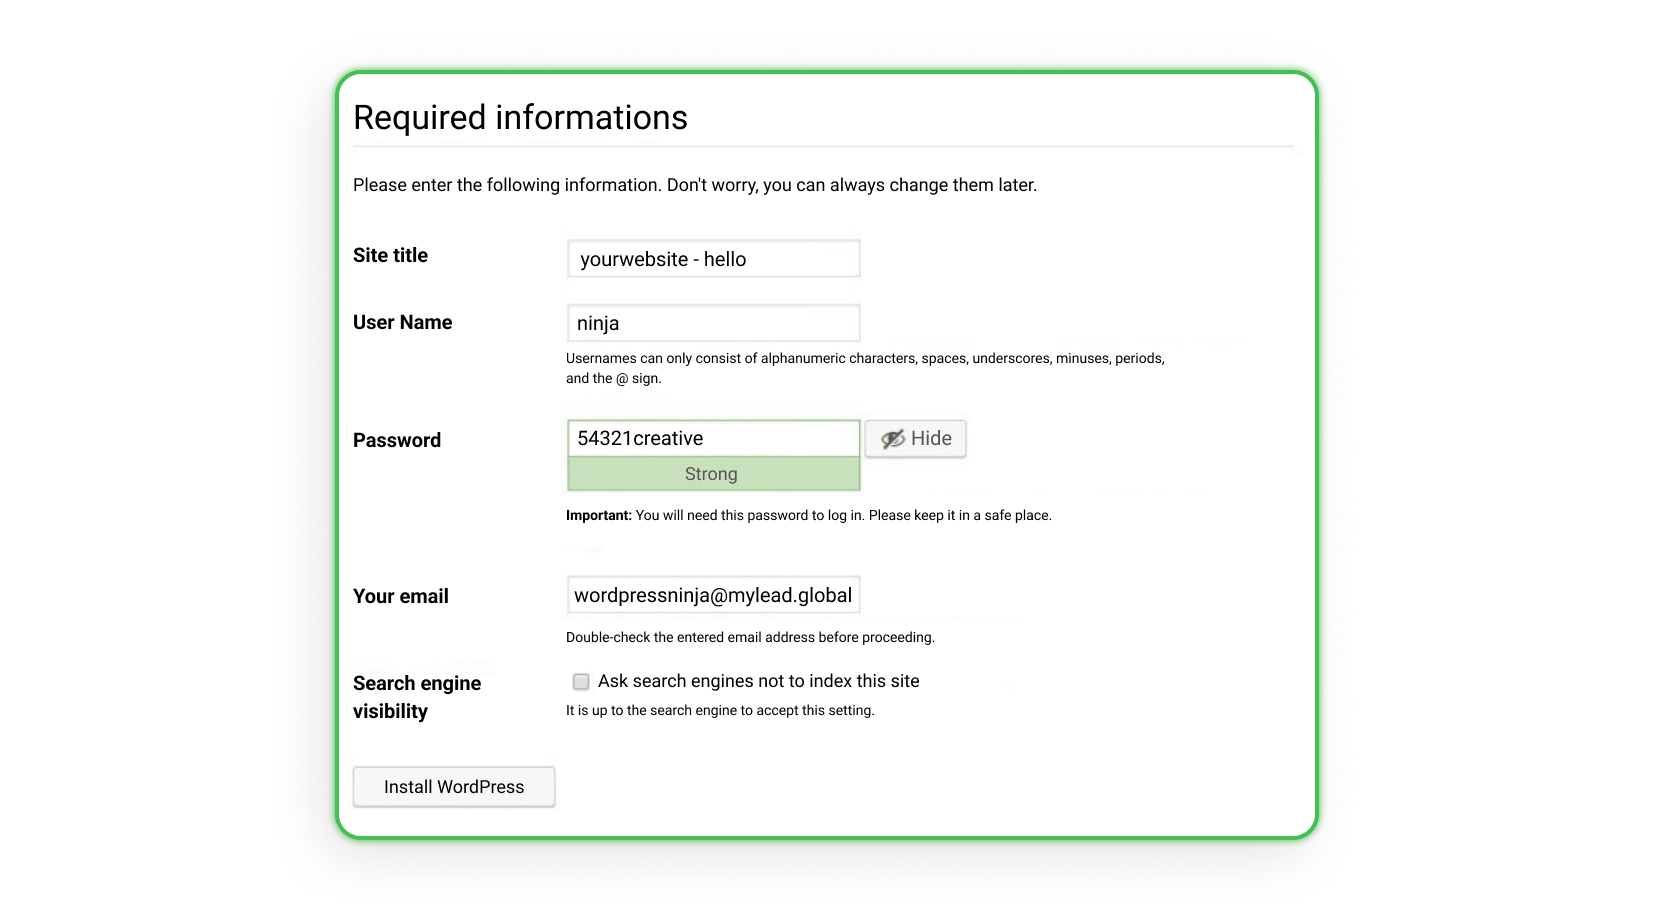
Site title — the name of your website, not its address.
Username — your admin login; avoid "admin" and "administrator", the easiest names to hack.
Password — make it hard to crack, ideally from a generator.
Email address — receives your login details and address.
Visibility — tick "discourage search engines" while building, then untick it at launch under Settings → Reading.
Click Install WordPress, wait a moment, then sign in to start building.
How do you build a landing page with Elementor?
Elementor is a free WordPress plugin that lets you design a landing page visually, by dragging and dropping elements instead of coding. Paid builders like Shopify exist, but free options — Elementor, SiteOrigin Page Builder, and Themify Builder — cover most needs. The free Elementor version is enough to register, connect your domain, and start designing from a template.
Elementor: signing up and choosing a plan
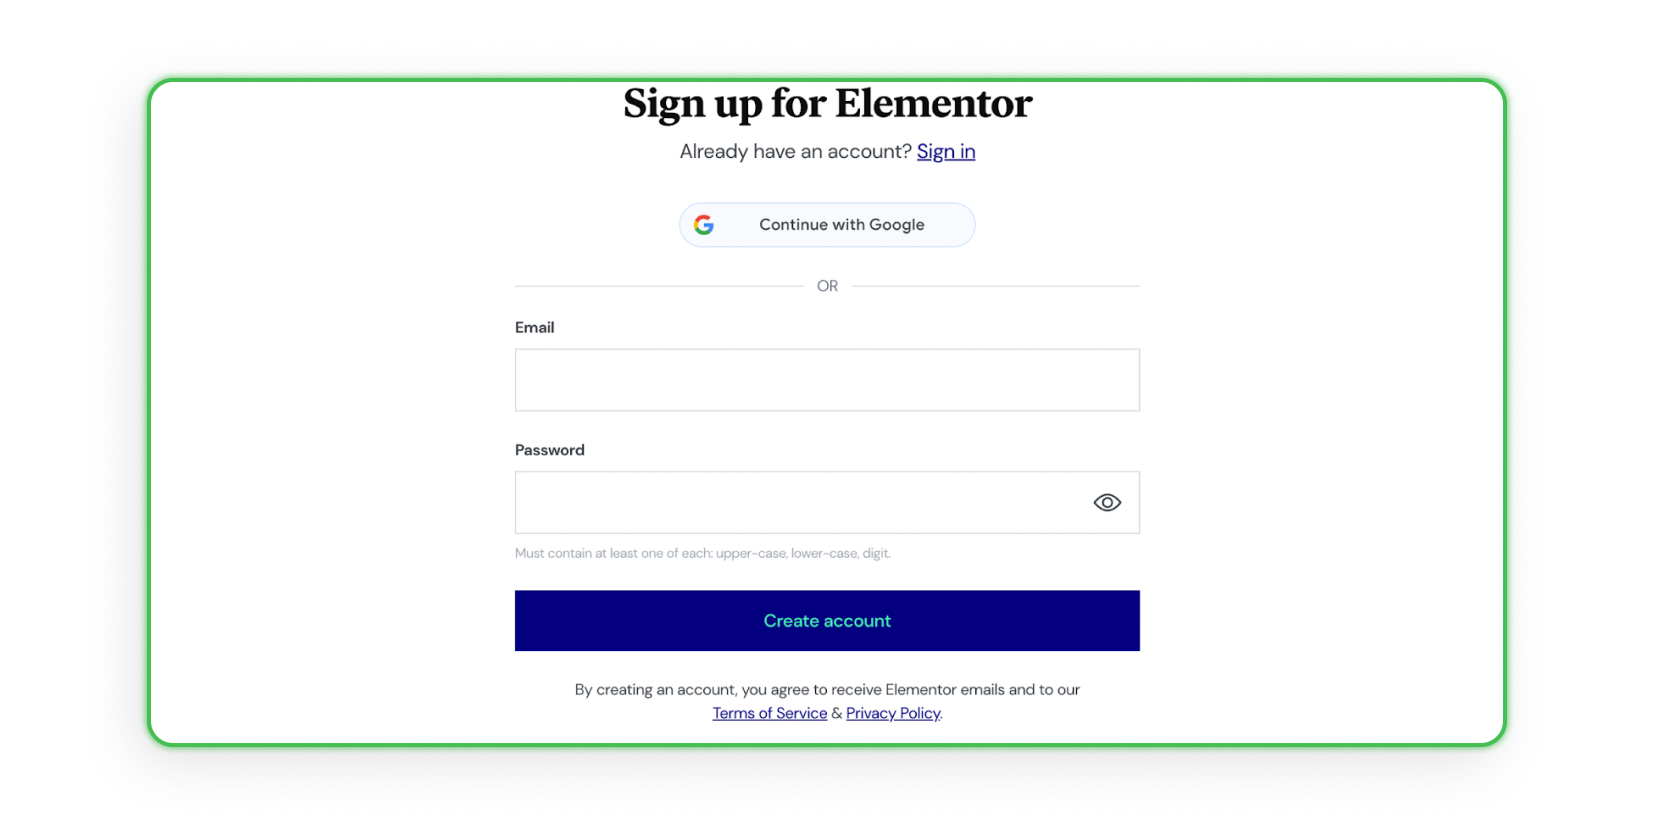
After choosing the free version, Elementor shows a registration screen, then a short questionnaire: who you build the site for, what you do, your website-building experience, and your page's topic. Next comes a comparison of all plans. To stay on the free tier, scroll past the paid offers and select it at the bottom.
The registration screen:
A comparison of all versions, where you select one:

Elementor: connecting your domain and installing
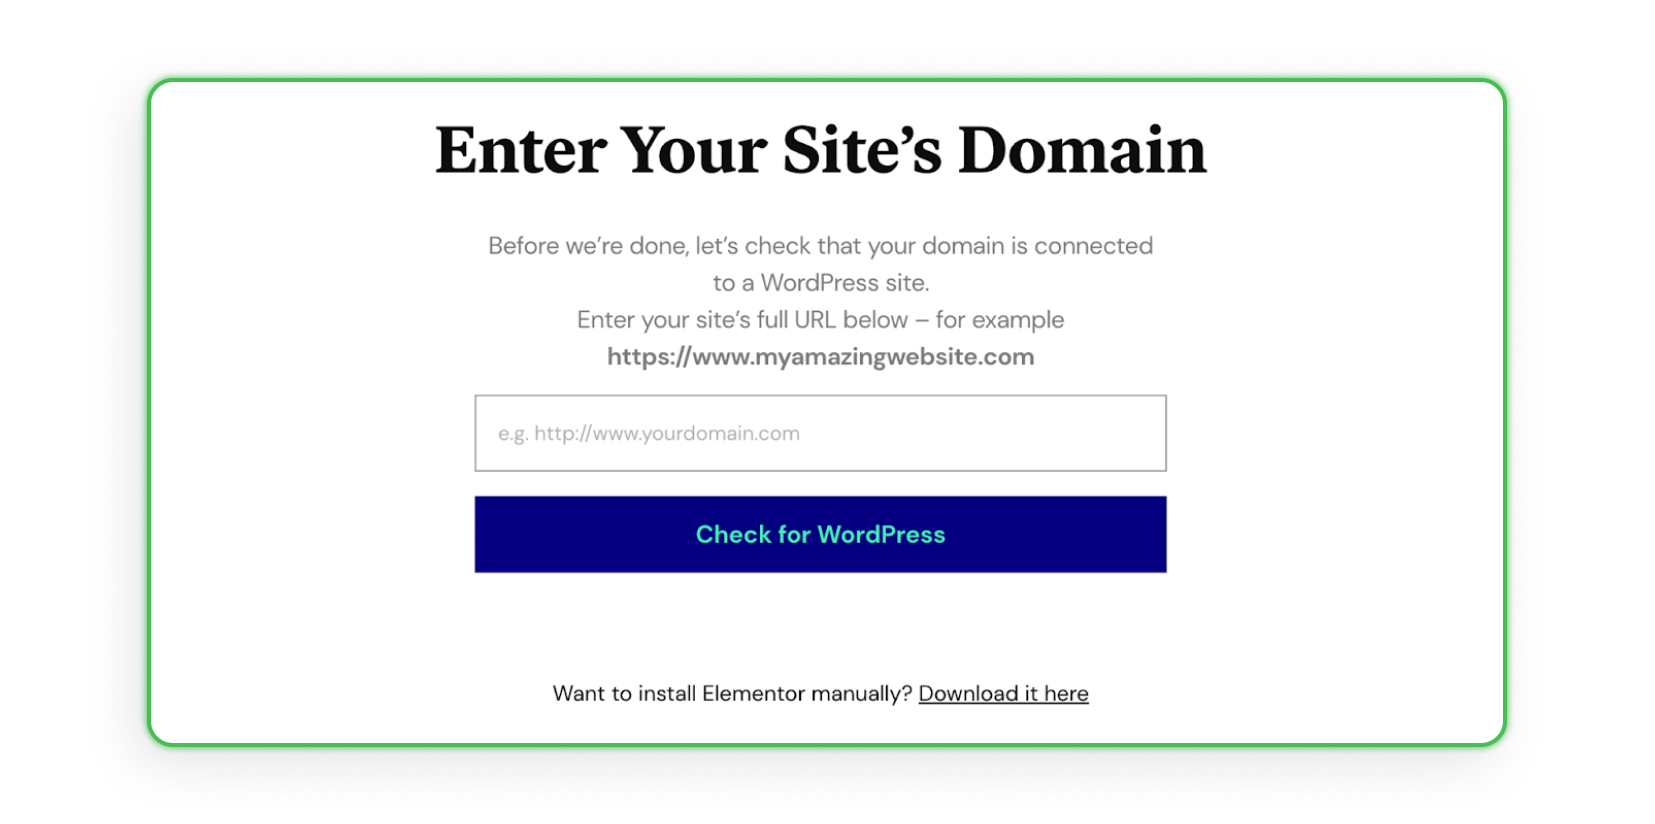
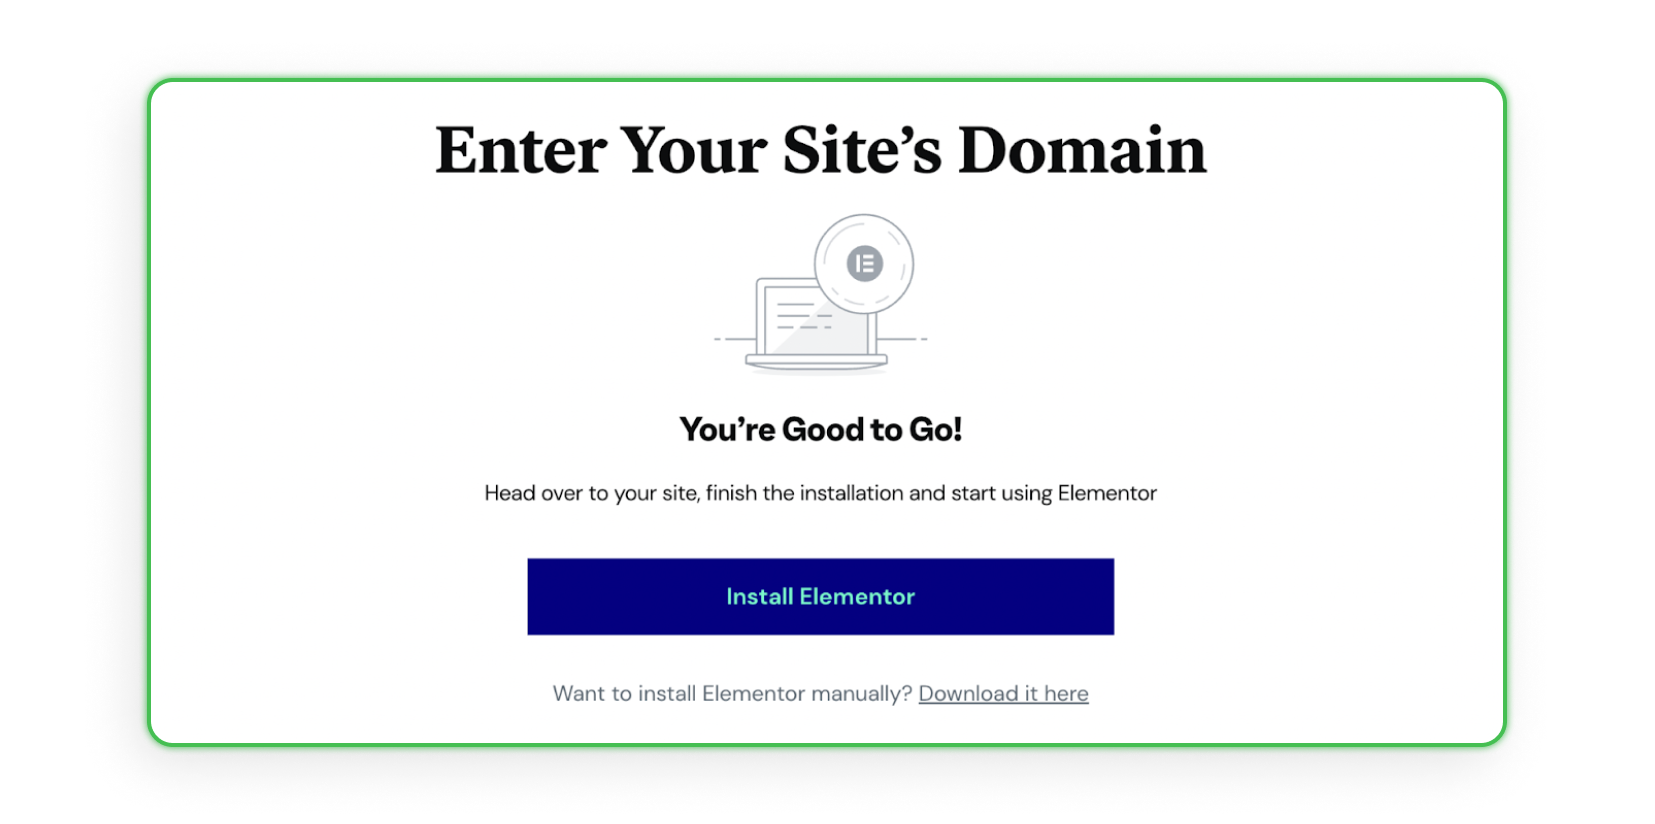
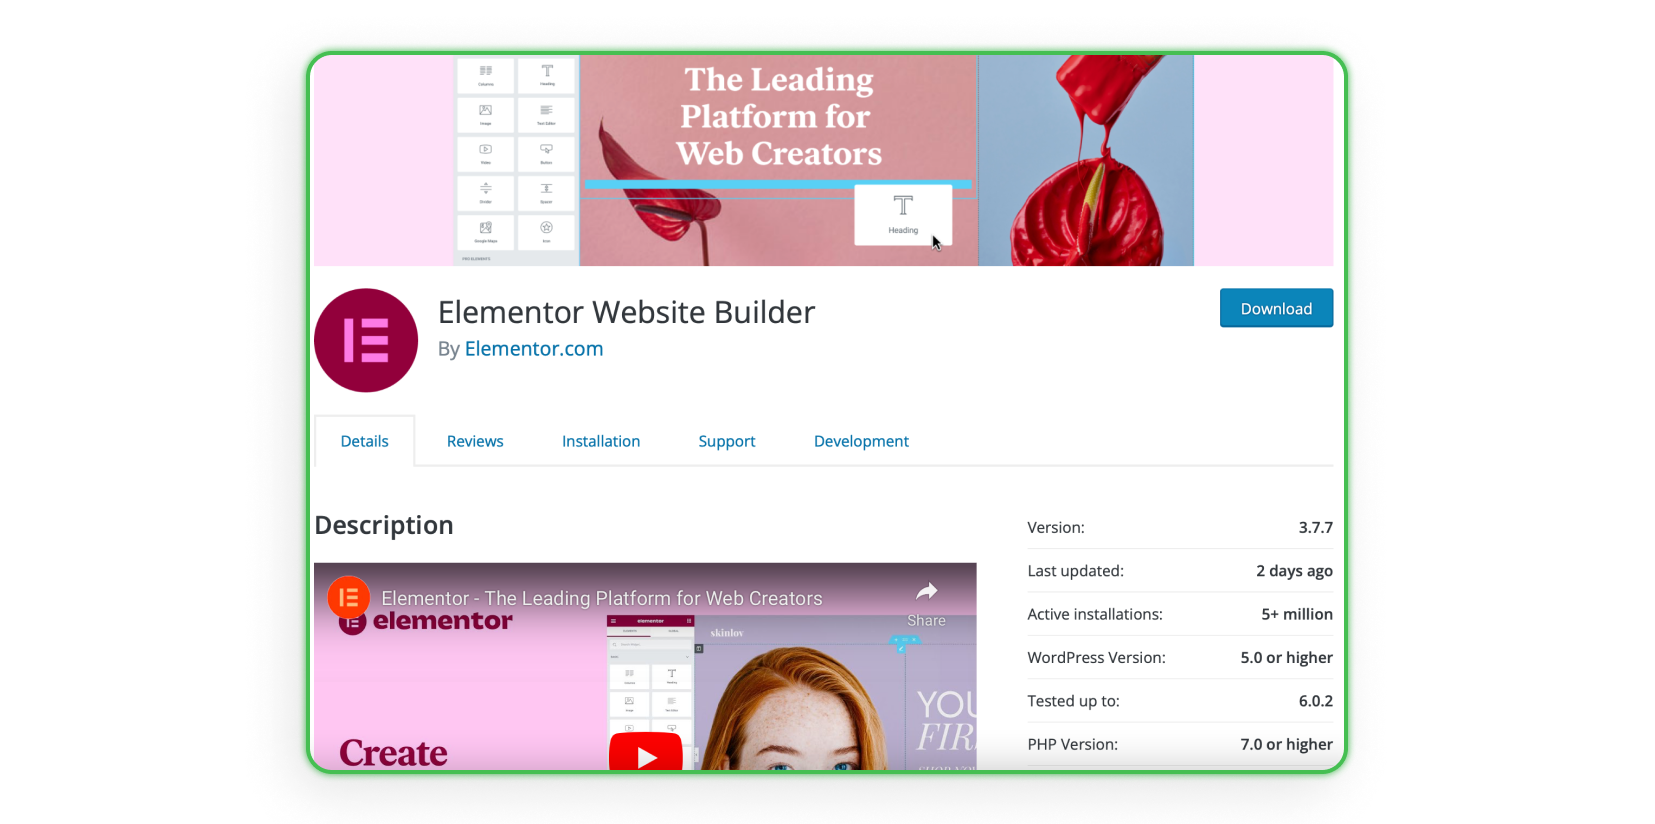
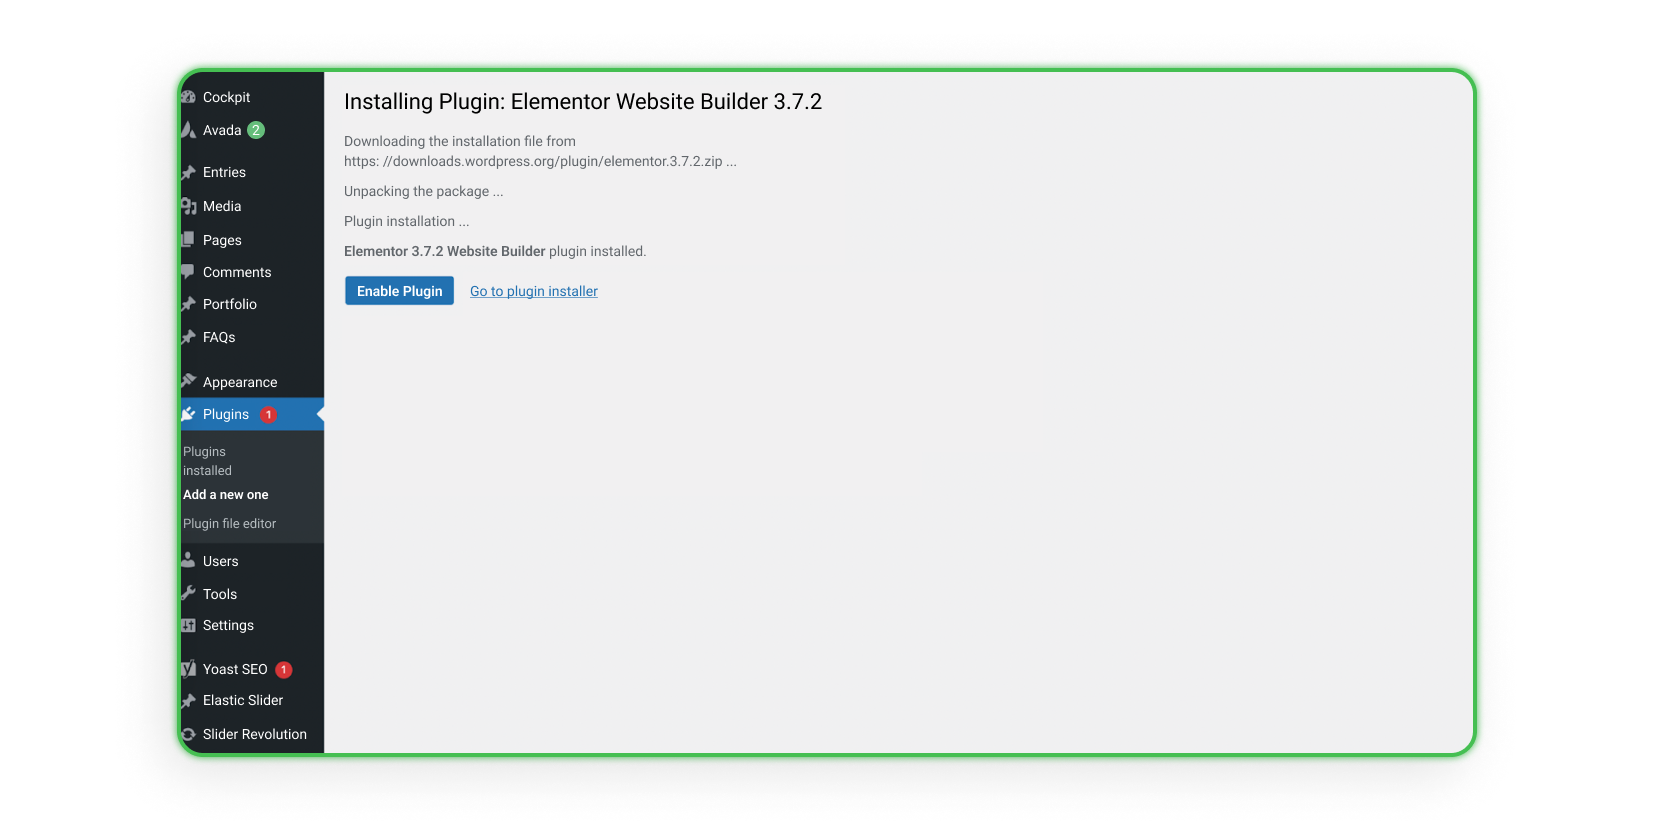
With the free plan selected, Elementor asks for your domain link. If your domain is already connected to WordPress, the next screen confirms it is ready to install. Click "Install Elementor", log in to your domain when redirected, then use the "Install" button on the Elementor info page and "Enable Plugin" to activate it on your site.
Enter your domain link:
If your domain is connected to WordPress, you will see this:
After logging in, the Elementor info page holds the Install button:
On your site, click Enable Plugin:
Elementor: creating and connecting your account
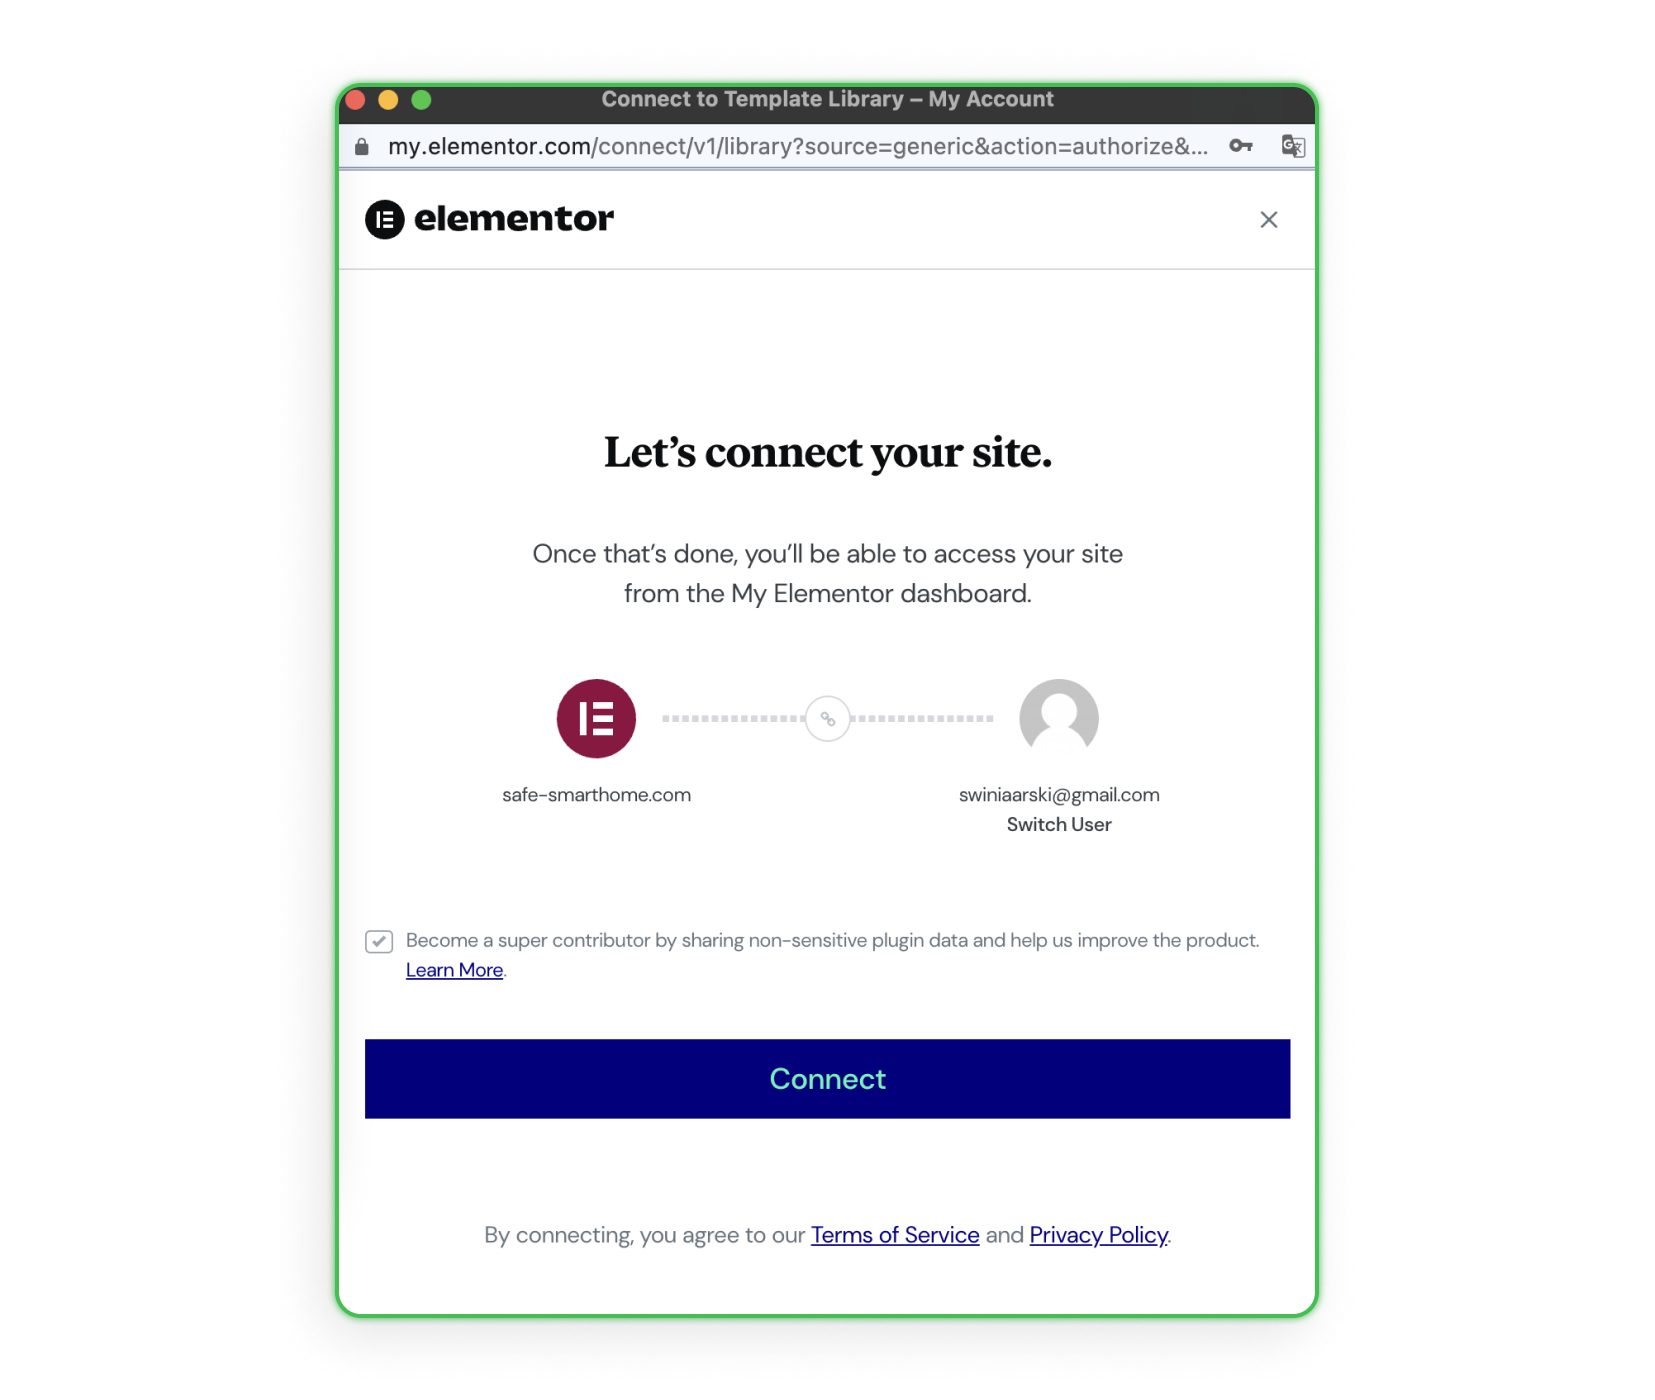
After enabling the plugin, Elementor offers to create a new account or connect an existing one — scroll down to find both options. Register if needed, then connect your account to the site by clicking "Connect". This links your WordPress installation to Elementor's design tools, so you can build and edit pages directly inside your dashboard.
Create a new account or connect an existing one:
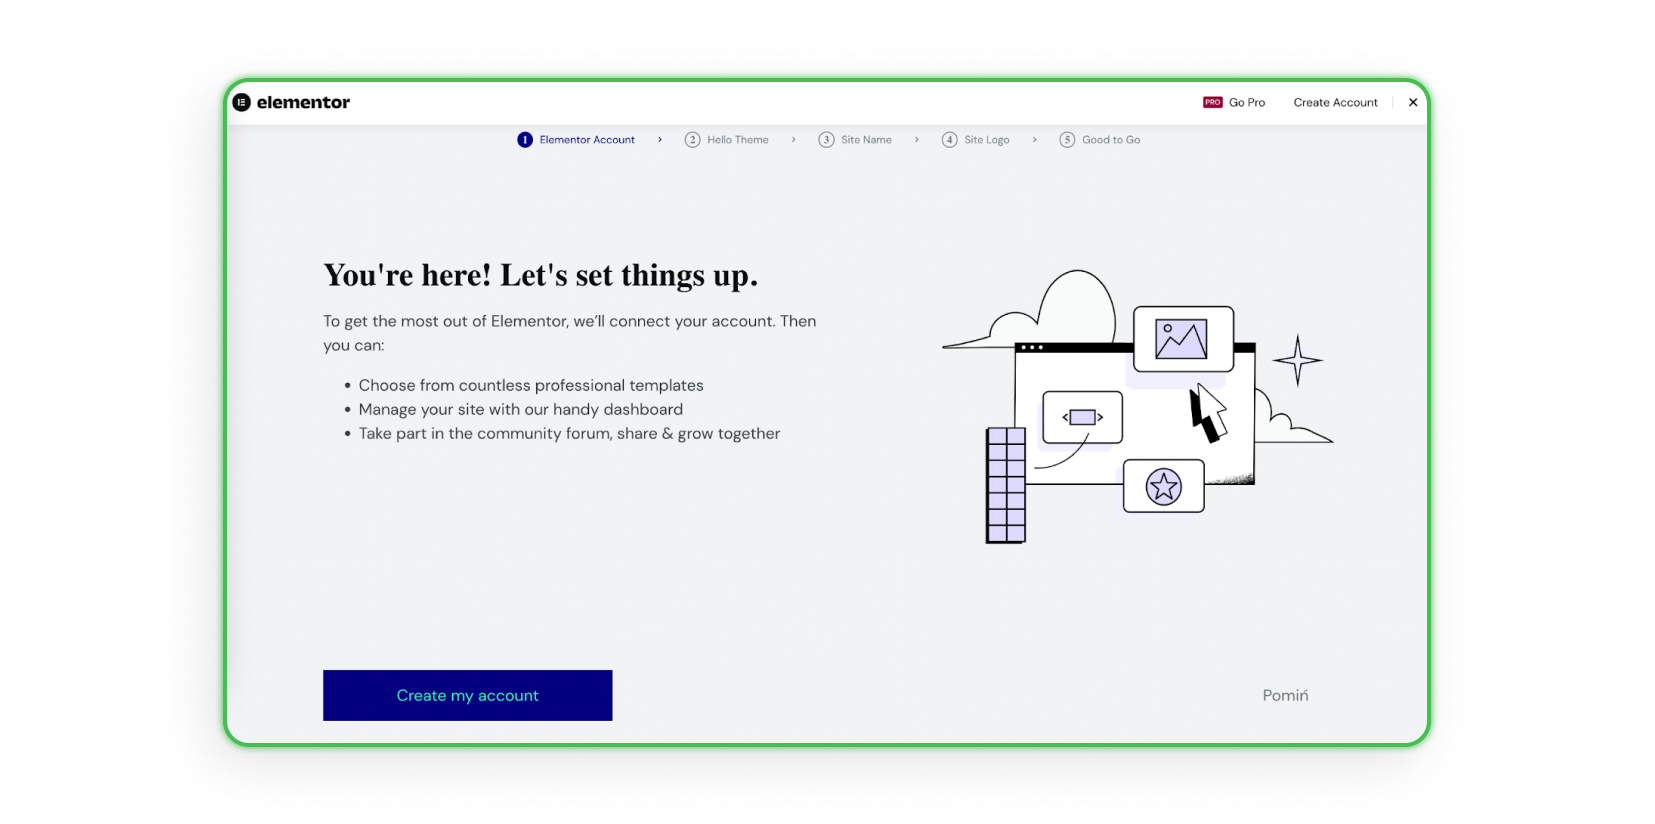
Register, then click Connect:
Elementor: choosing a template and designing your page
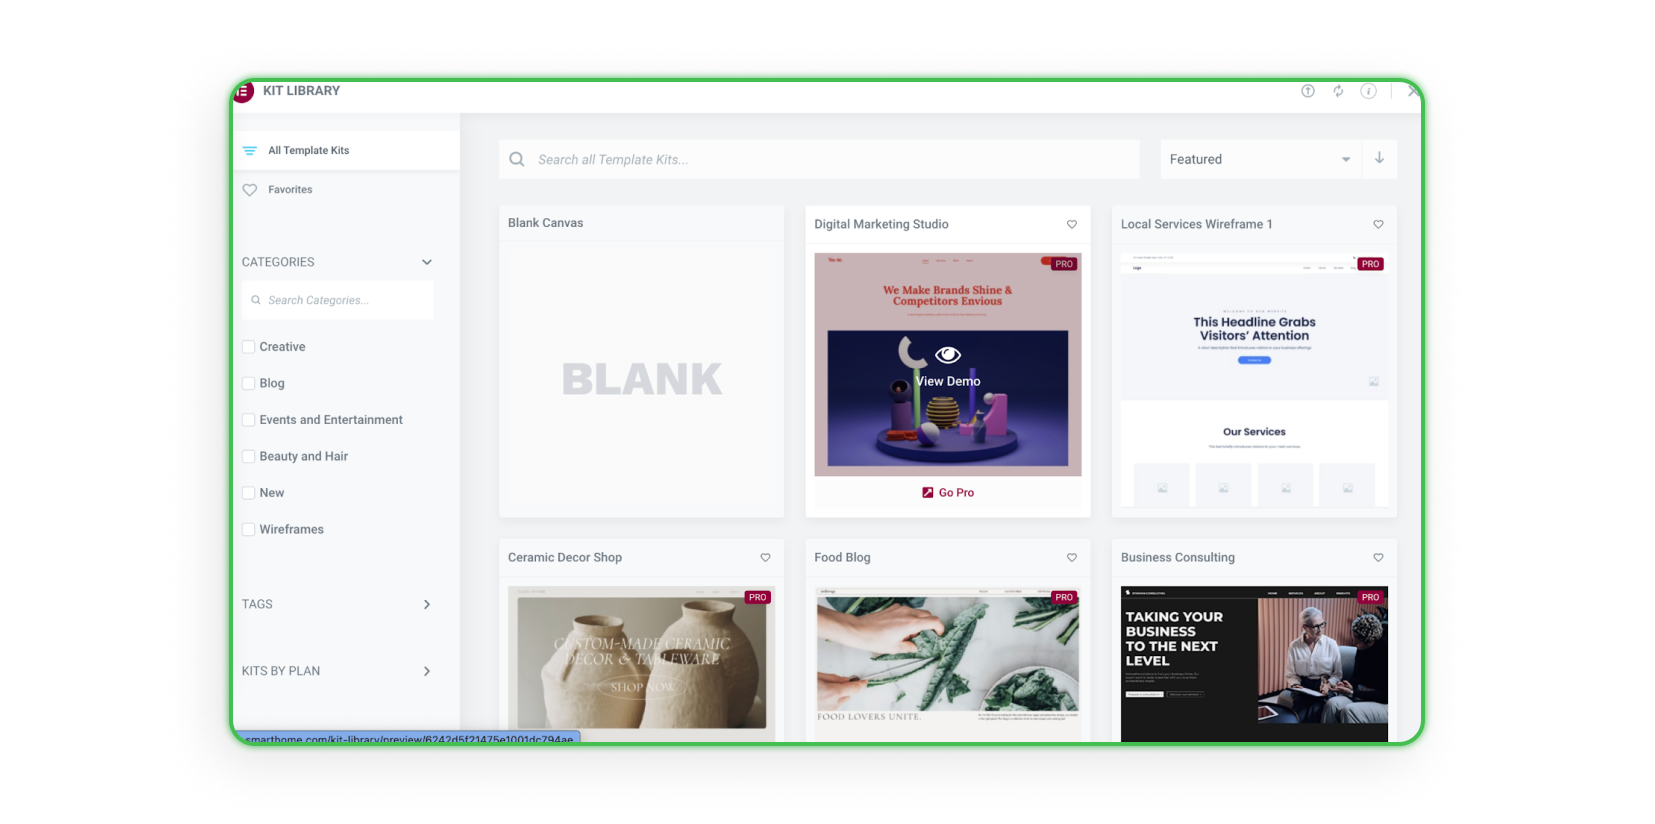
Once connected, click "Continue with Hello Theme", name your site (visible only in the WordPress panel), and add a logo or skip it for now. Then choose a blank canvas or browse over 100 ready templates. A ready template gives you a starting layout and inspiration, which is faster than designing from scratch.

Choose a blank canvas or browse over 100 templates — studying high-converting templates first speeds up the work:

Browse for inspiration to set your design direction:
After reviewing templates, you will know the direction for your page. Part II of this landing page guide covers the design tricks and tips.
Key takeaways
A landing page is a single-goal page that lets affiliate publishers promote even sensitive offers, build trust, and collect visitor data.
Decide your target group, topic, purpose, and budget before you build — they shape every later choice.
Good hosting (about $2 to $15 per month) keeps your page fast and online 24/7; a clear, trustworthy domain (about $3 to $20) makes it easy to remember.
WordPress installation comes down to seven steps: download, unpack, create a database, edit wp-config.php, set up FileZilla, upload, and install.
The free Elementor plugin lets you design visually from over 100 templates without writing code.
Building a landing page is time-consuming but not complicated — and it saves the cost of hiring a developer.
FAQ
1. Do you need coding skills to create a landing page?
No. With WordPress and the free Elementor plugin you build pages by dragging and dropping elements, so no programming is required. Ready templates speed the process up even further.
2. How much does it cost to create a landing page?
The main costs are hosting, roughly $2 to $15 per month, and a domain, roughly $3 to $20. WordPress and the free Elementor plugin add nothing, so a basic landing page stays inexpensive.
3. WordPress or Elementor — which should you use?
They work together, not against each other. WordPress is the content management system that runs your site, while Elementor is the plugin you use to design pages on top of it visually.
4. Can you create a landing page for free?
The builder can be free — WordPress, Elementor, SiteOrigin, and Themify cost nothing. You still pay for hosting and a domain, which are required to publish any page online.
5. How long does it take to build a landing page?
WordPress installation takes minutes, while designing the page depends on your template and content. With a ready Elementor template, a simple landing page can be live the same day.
Summary
Creating a landing page comes down to four stages: planning your audience and purpose, choosing hosting and a domain, installing WordPress, and designing visually with Elementor. The process is time-consuming but straightforward, and it gives affiliate publishers full control over how they promote offers. Ready to put your page to work? Sign up as a MyLead publisher and start promoting campaigns that fit your audience.
Have any questions? Feel free to reach us through our channels.