
Blog / MyLead Guide
Complete MyLead Guide - Offers (Affiliate Campaigns)
This article is updated regularly
Last update:
07 December 2025
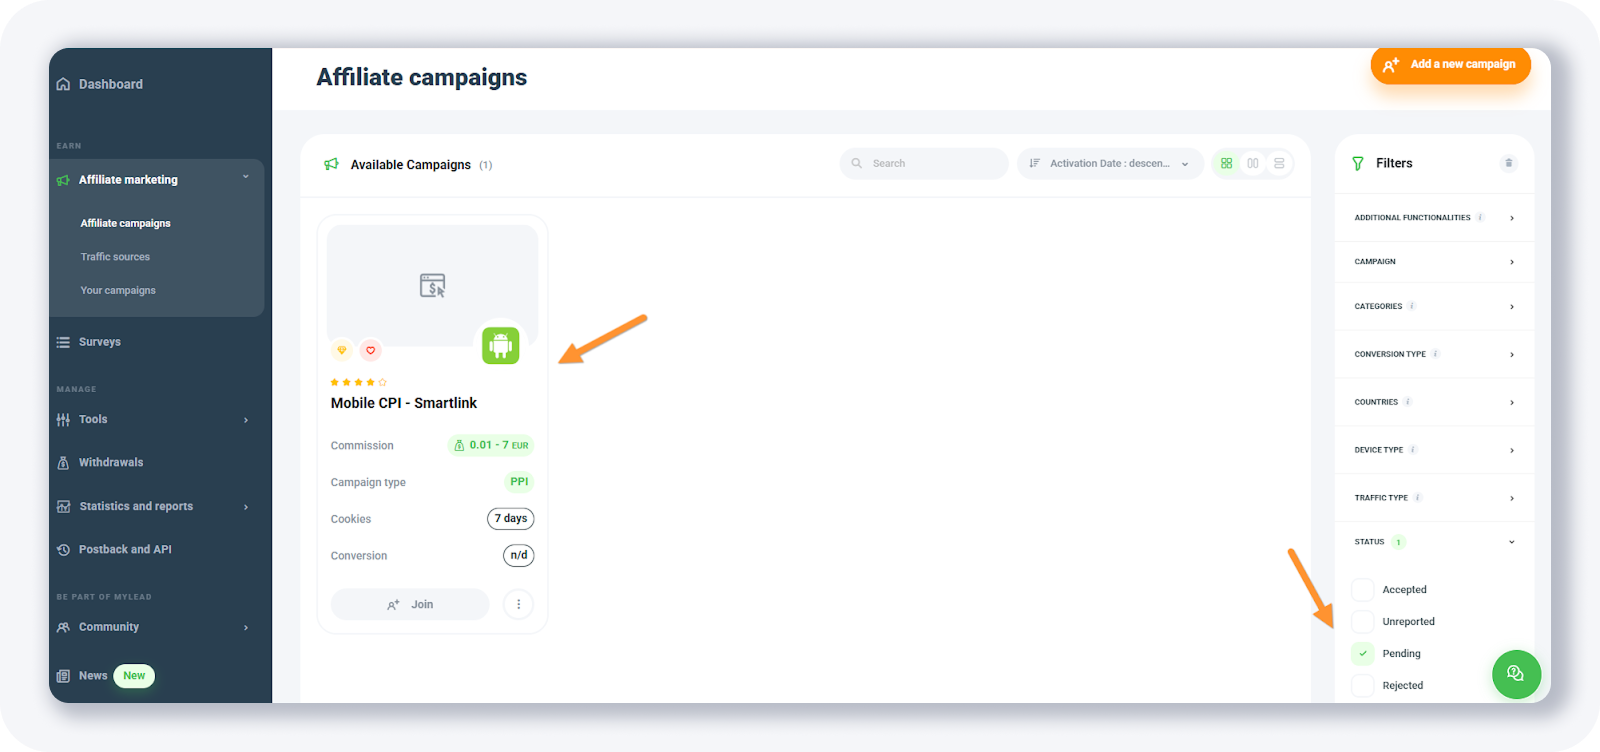
So, affiliate campaigns are actually the offers you want to run (apply to). You can view all available offers under the Affiliate campaigns page.
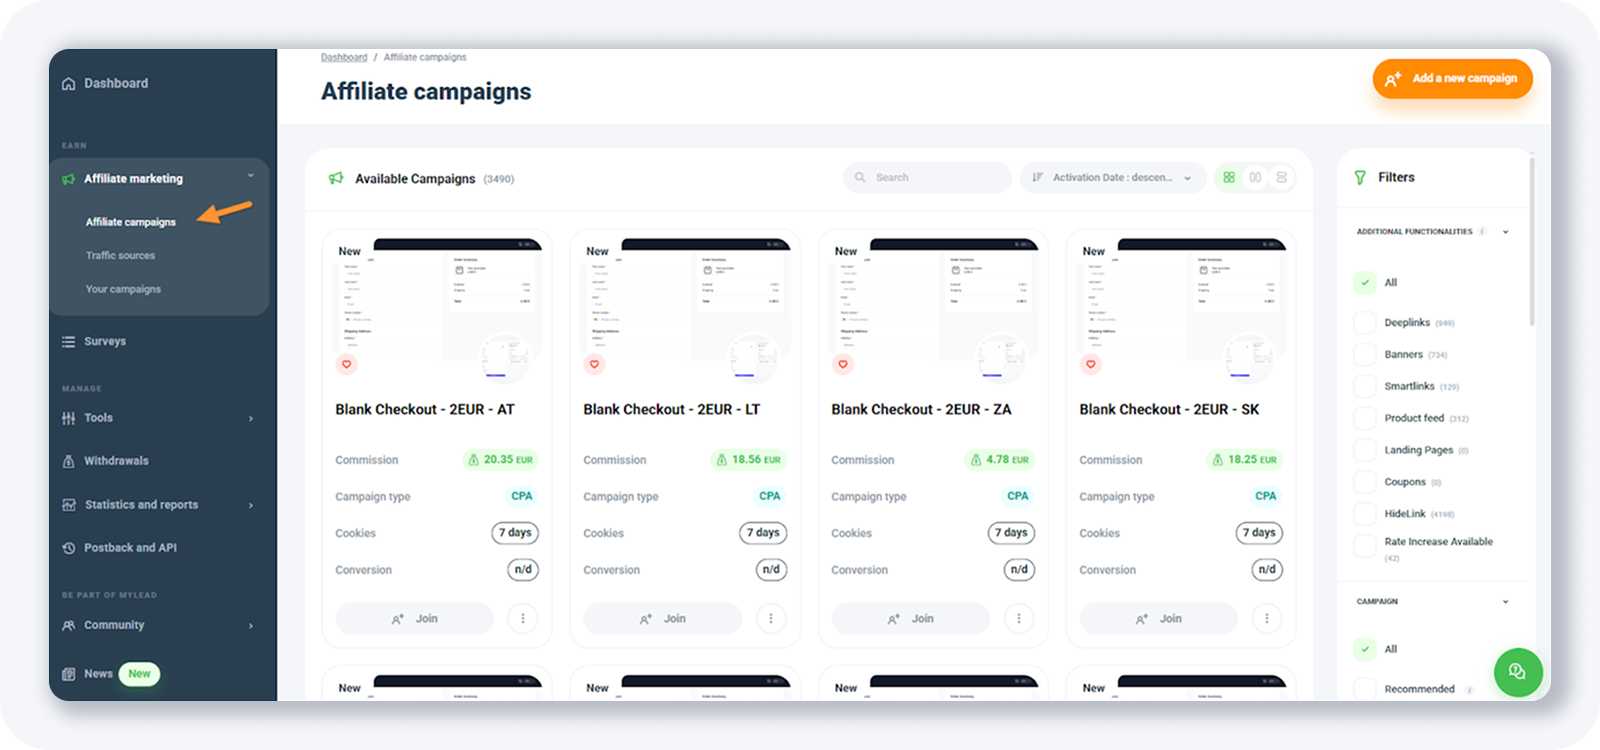
You’ll notice there are really a lot of offers you can run - more than 3000!
There are some filters on the right hand side that you can use:
• Additional functionalities - in case you want to show only the offers that have some special features like Rate increase available, use this filter
• Campaign - use this to filter campaigns that are new, top or recommended
• Categories - pick from more than 20 categories like dating, surveys, download etc.
• Conversion type - there are more than 20 conversion points available, like survey, email submit, install, download etc.
• Countries - filter the offers by more than 200 countries available
• Device type - in case you want to filter only offers available for mobile, desktop or tablet, use this filter
• Traffic type - this is the filter for “allowed traffic type”. Some offers allow incentive traffic, while others don’t.
• Status - filter by status of the offer which can be accepted, unreported, pending or rejected
• Type - filter by the offer payout model which can be for example CPL (cost per lead), CPS (cost per sale), CPA (cost per acquisition) etc.
For example, I have selected these filters:
• Additional functionalities: Hidelink
• Campaign: LIVE
• Categories: Services
• Conversion type: Install
• Countries: Indonesia
• Device type: Mobile (Android)
• Traffic type: No incent
• Type: PPI
And I got 1 result:.
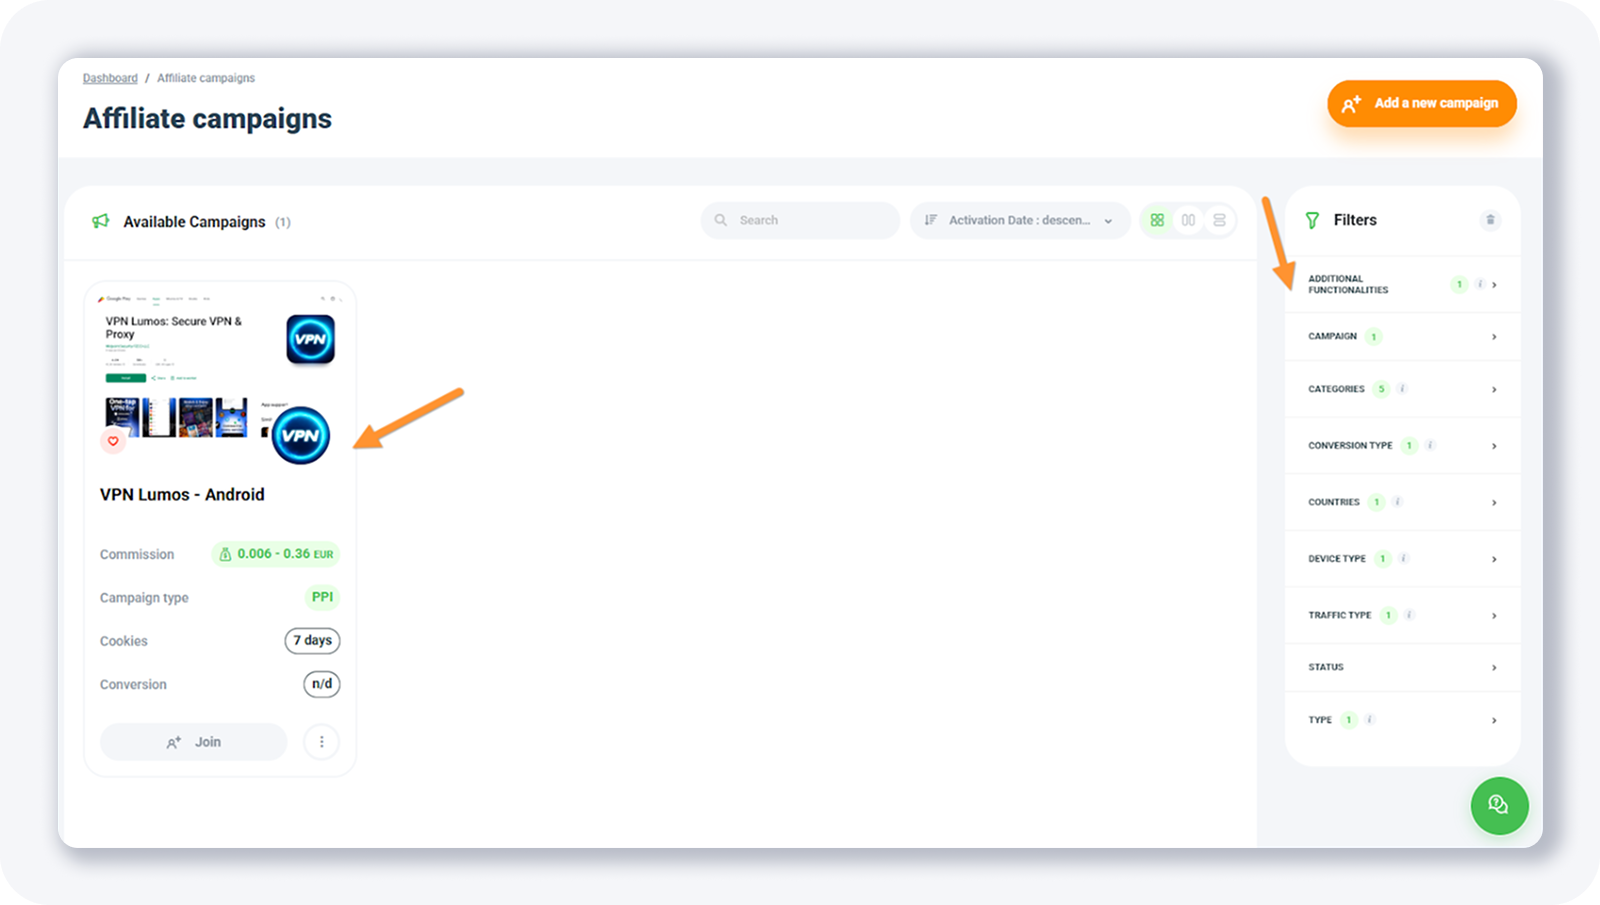
By clicking the offer card, you’ll get more details.
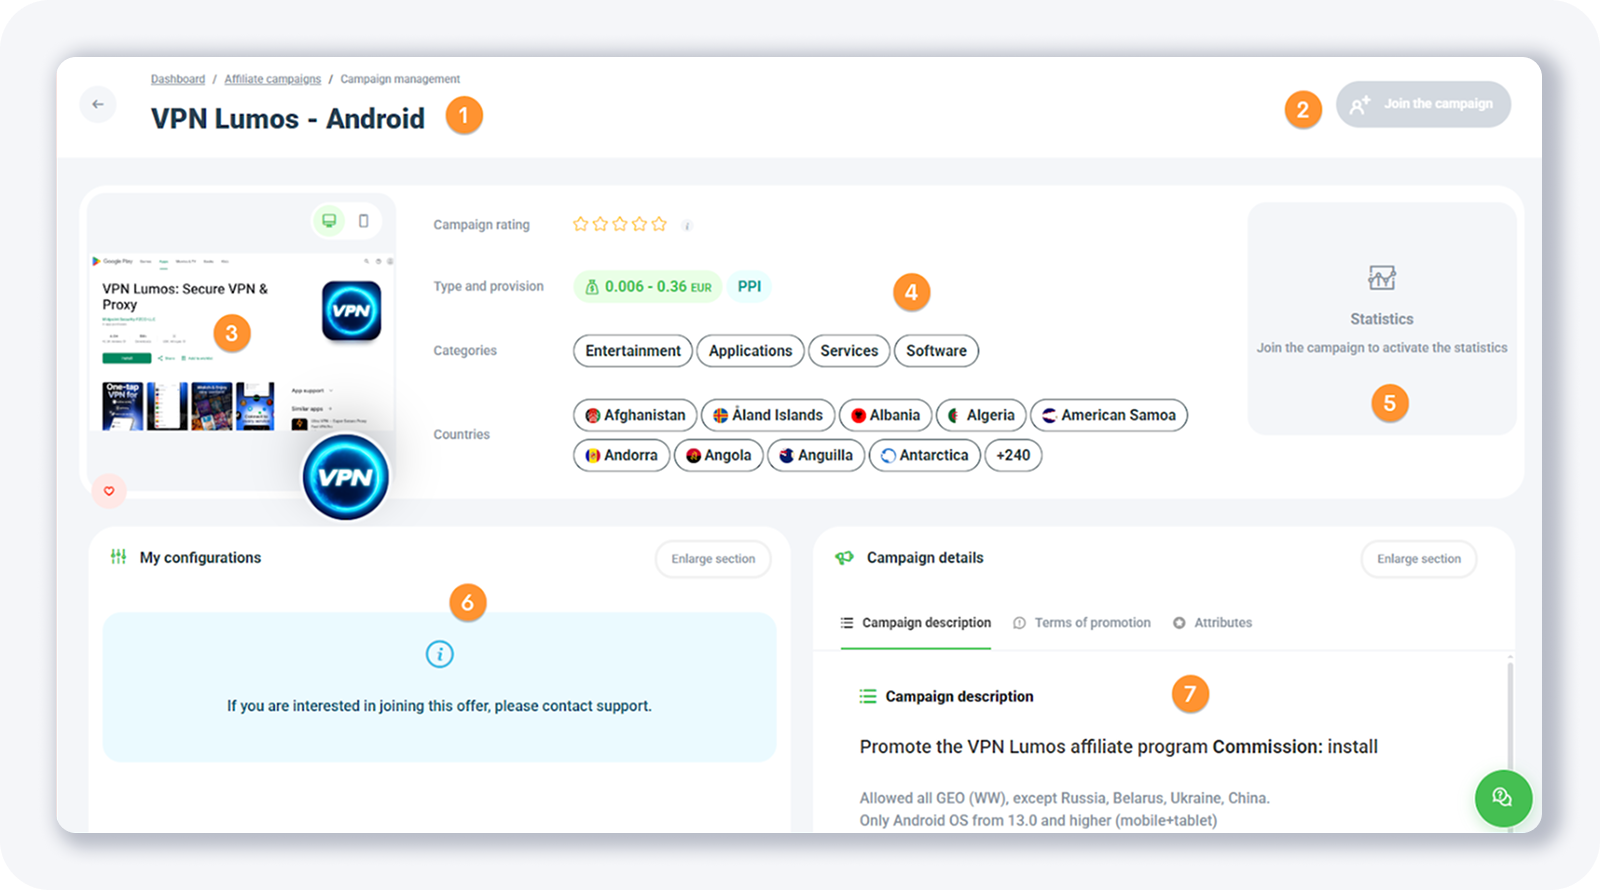
On the single offer page, you’ll see the following:
1. Name of the offer
2. Button to apply to run the offer
3. Offer preview (usually the screenshot from Google Play Store or Apple App Store)
4. Offer details, like the payout, categories and allowed countries
5. Statistics of the offer
6. My configurations - available once you apply for the offer
7. Campaign details - with the description of the offer, some materials and rate card, terms or promotion etc.
For some offers, you might see this:
“If you are interested in joining this offer, please contact support.”
I’ve contacted support and got approved to run this offer:
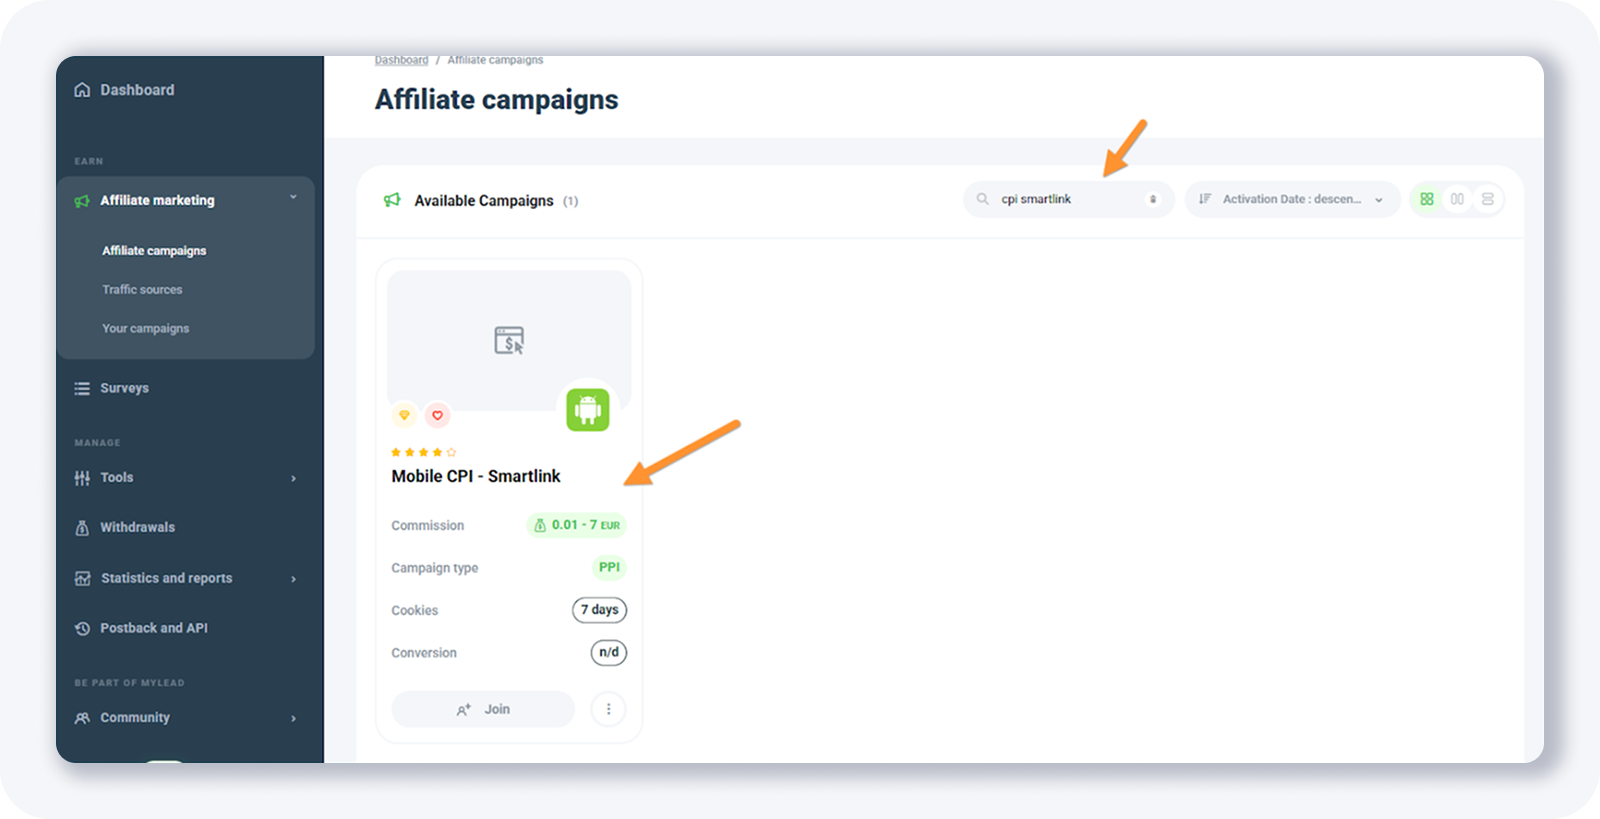
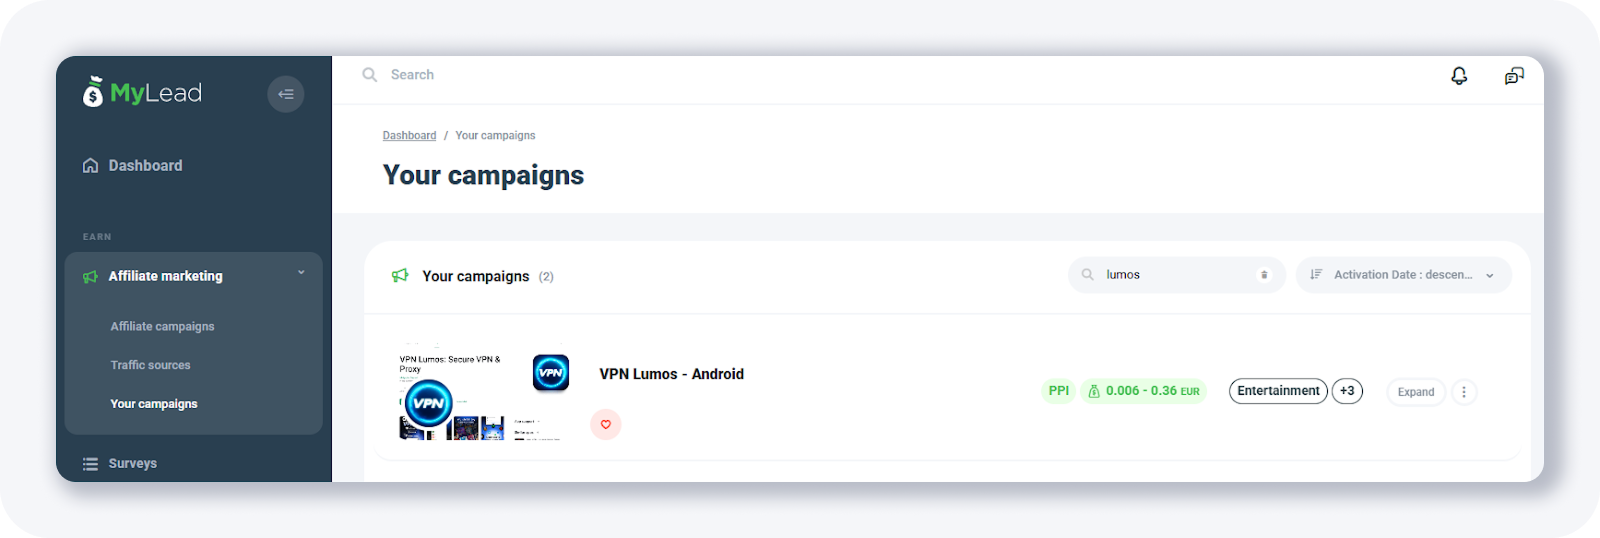
I’ll also try to join one of the smartlinks (since for them you don’t have to contact support) listed on the Affiliate Campaigns page. I’ve searched for “CPI smartlink”:
And got one result. After I’ve opened the single offer (in this case smartlink) page:

I’ve clicked on the Join the campaign button in the top right corner of the page.
You’ll see this popup, where you need to select your traffic source and give more info about the promotion method.
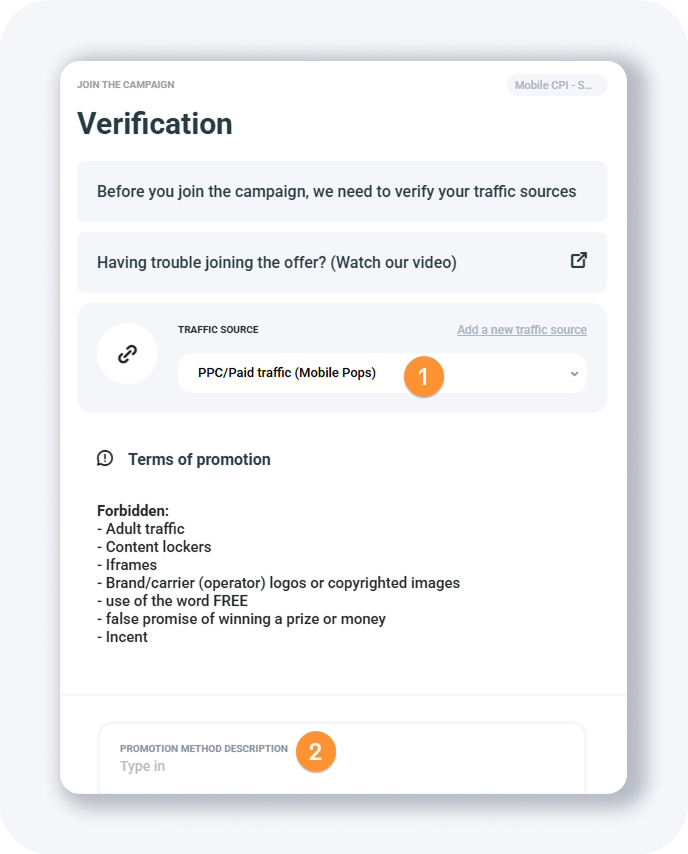
Once you are done, click on the Send for verification button.
And then you’ll need to wait some time for your campaign to be approved.

If you select Pending from the Status filter, you’ll see your campaign there:
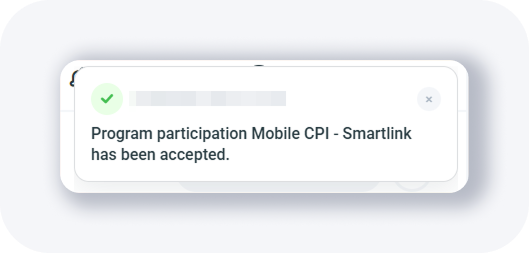
Just a few seconds after I’ve applied for a smartlink, I got this notification in my dashboard:
And now when I open the Your campaigns page, I see this:
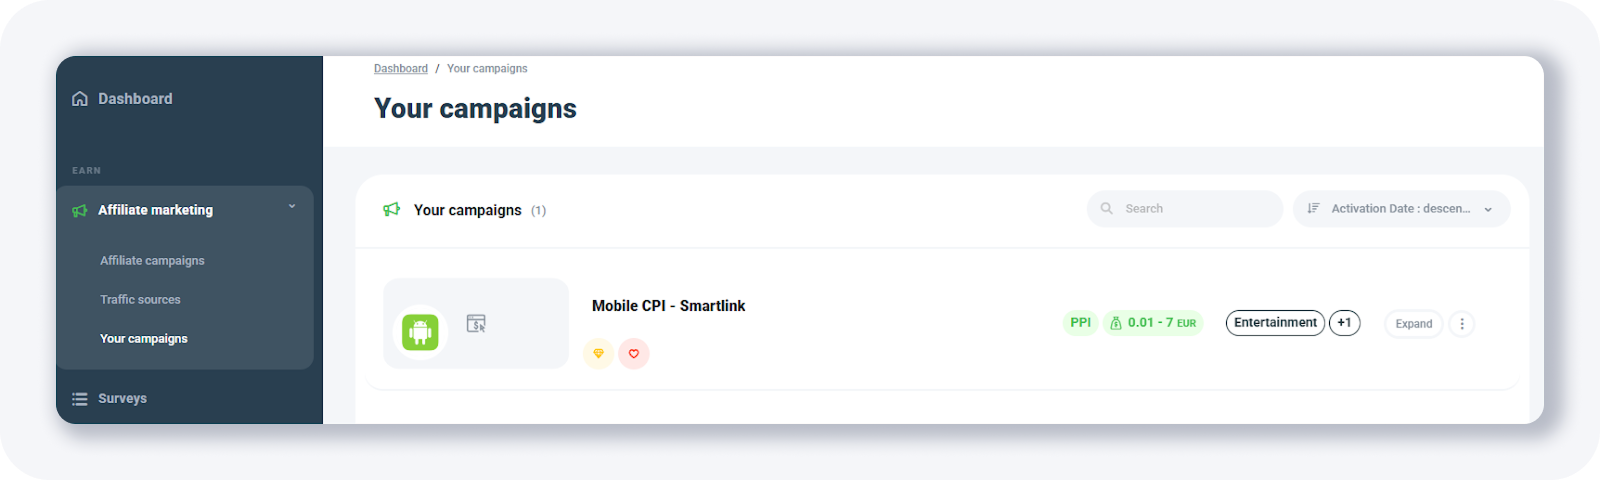
As you can see, applying for a smartlink is pretty easy and straightforward, but with other offers it takes more time, since you need to contact support first.
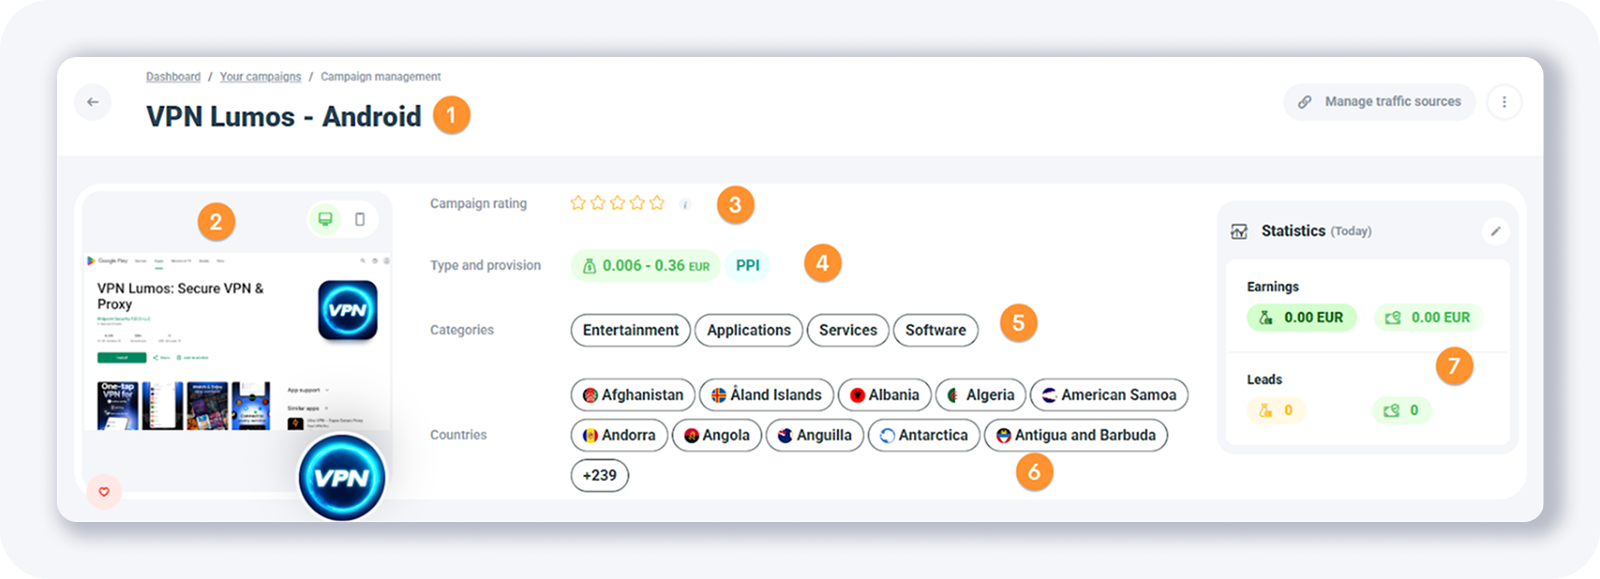
Let’s take a look at the offer single page now.
I’ll break it down in a few smaller screenshots.
The top part of the page shows:
1. The campaign (offer) name
2. Offer preview for mobile and desktop devices
3. Offer rating (Evaluating a campaign is possible for a publisher who has joined the campaign, has at least 5 leads, and does not have any additional affiliate restrictions.)
4. Type of offer (ie. PPI) and the payout
5. The categories where offer is listed
6. The countries where offers are available. Keep in mind that the payout per country is not available here, but it usually is available in the part of the page called “Campaign description”
7. Your statistics will be shown on the right. If you click the edit icon, you can change the timeframe.
Now, the bottom part of the page looks like this:
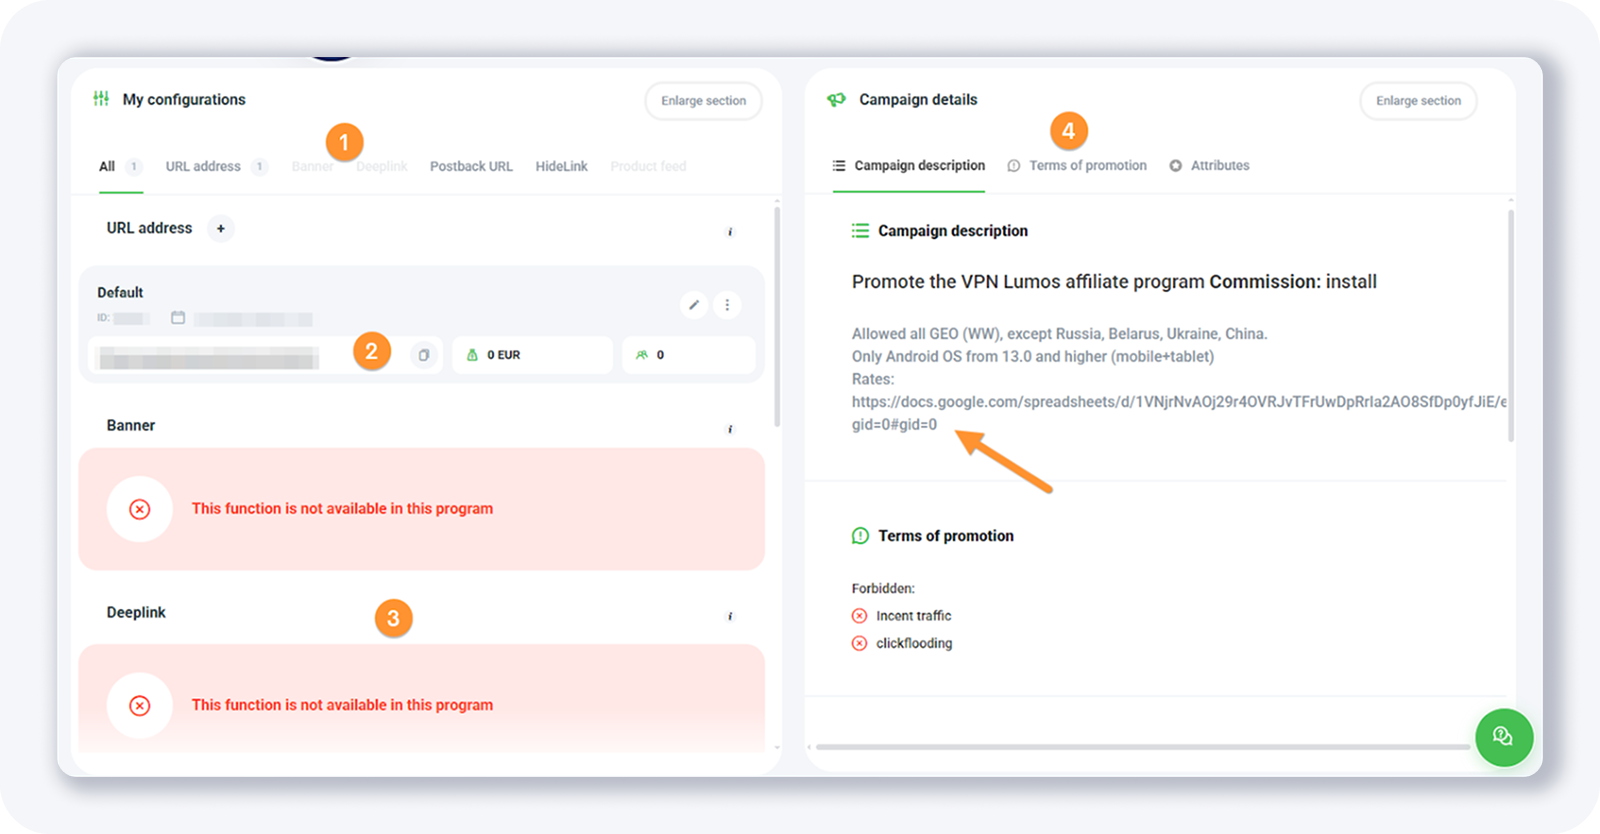
Here you’ll find:
1. Additional options (tools) under the “My configurations” section - like HideLink etc. (if available)
2. The campaign (offer) URL (that you need to add to your tracker)
3. Additional tools (if available)
4. Campaign details - like rate card (if offer is available in more countries), offer restrictions, etc.
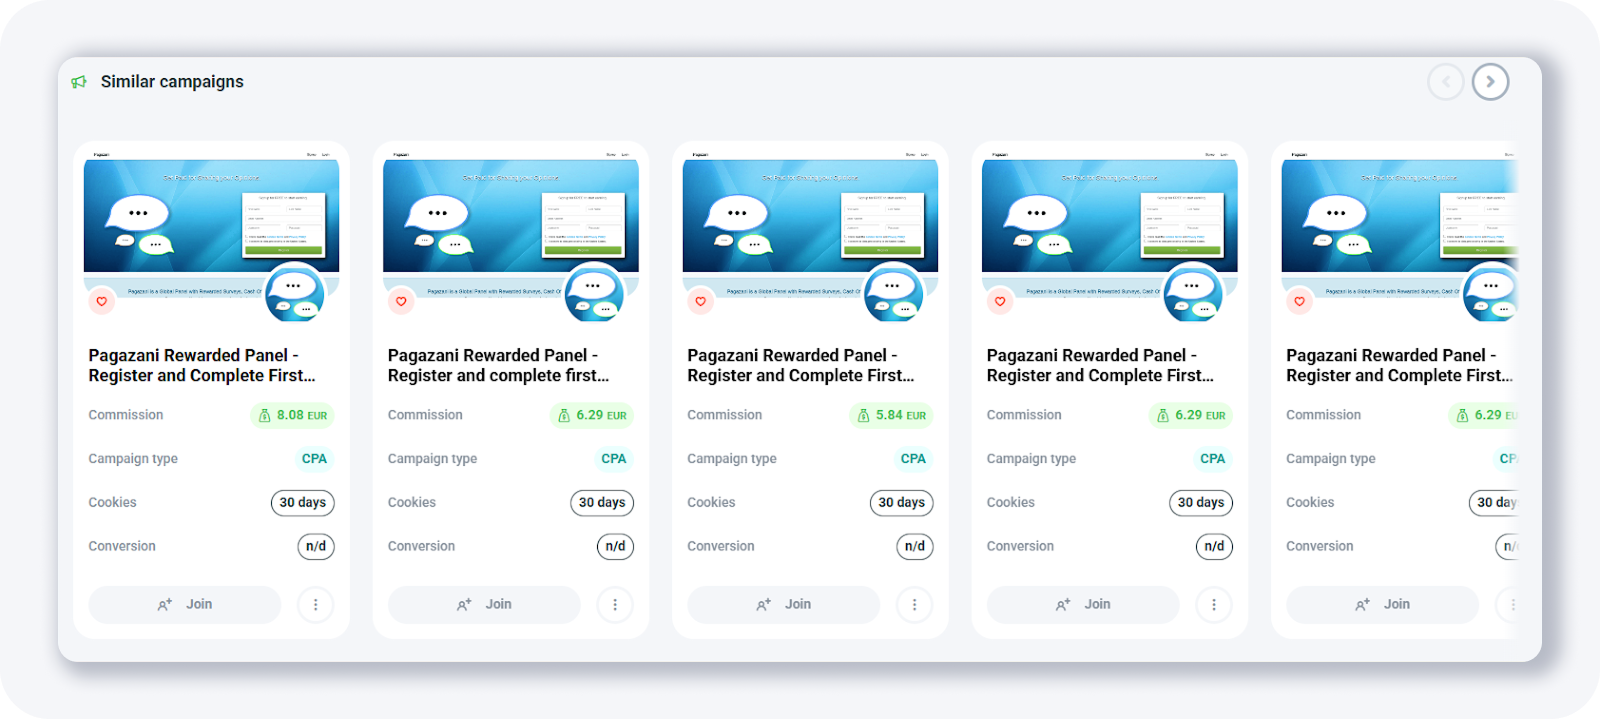
At the end of the page you’ll see some similar campaigns.
TIP: Make sure to check the “Terms of promotion” and the list of forbidden promotion methods.
Complete MyLead Guide - Chapter list
1. How to register on MyLead - click to read
2. Main Dashboard - click to read
3. My Profile - click to read
4. Offers (Affiliate Campaigns) - now reading
5. Surveys
6. OfferWall Rewards
7. Content Lockers
8. CPA Locker
9. Captcha Locker
10. File Locker
11. Mobile Rewards
12. Icent Campaigns
13. Offer API
14. Smartlniks
15. Free Affiliate Tools
16. Coupons and promotions
17. HideLink
18. Passage of Offers
19. Damaged Links
20. Withdrawals
21. Statistics and Reports
22. Postbacks
23. Adding MyLead as an Affiliate Network to your Tracker
24. How to Add MyLead Offers to the Tracker
25. How to Add MyLead Lockers (as an Offer) to Tracker
26. How to Add MyLead Smartlinks (as an Offer) to Tracker
27. Community and News
Have any questions? Feel free to reach us through our channels.