Blog / Affiliate marketing
How do you correctly add a traffic source?
This article is updated regularly
Last update:
07 April 2025
Affiliate programs offer a range of promotion options, each with unique principles. This flexibility empowers publishers to choose the medium that best suits their style. However, adding and verifying the traffic source in the internal panel before placing them on specific sites is crucial. So, what exactly is a traffic source, and how do you correctly add it? If you're curious, we have a comprehensive guide for you.
What is a traffic source?
Simply put, a traffic source is where affiliate links are placed. Customers are directly directed to a specific advertiser's page from here. A traffic source could be a particular website or a social media platform, such as Facebook or Instagram.
Why is it necessary to fill in the traffic source?
Adding a traffic source is optional. It's a gateway to individual campaigns. Many advertisers on MyLead require traffic source verification before accepting a publisher as their partner. Once your traffic source is accepted, you can promote a specific affiliate program. Correctly filling in information about the traffic source is crucial. It grants you faster and easier access to a campaign and enhances your chances of gaining access to the program. So, keep at it, and you'll soon be on your way to a successful affiliate journey.
You must meet a requirement by accurately filling out information about your traffic source. You're also playing a crucial role in the process. As an affiliate network, understanding the traffic sources you have at your disposal allows us to better tailor the available offers to your expectations and capabilities. Your input is invaluable and greatly appreciated.
How to add your traffic source on mylead?
Now that we know what a traffic source is and why it's crucial to fill it out, how do you do it correctly to kick-start your affiliate journey? To properly fill in information about your traffic source, follow the instructions below:
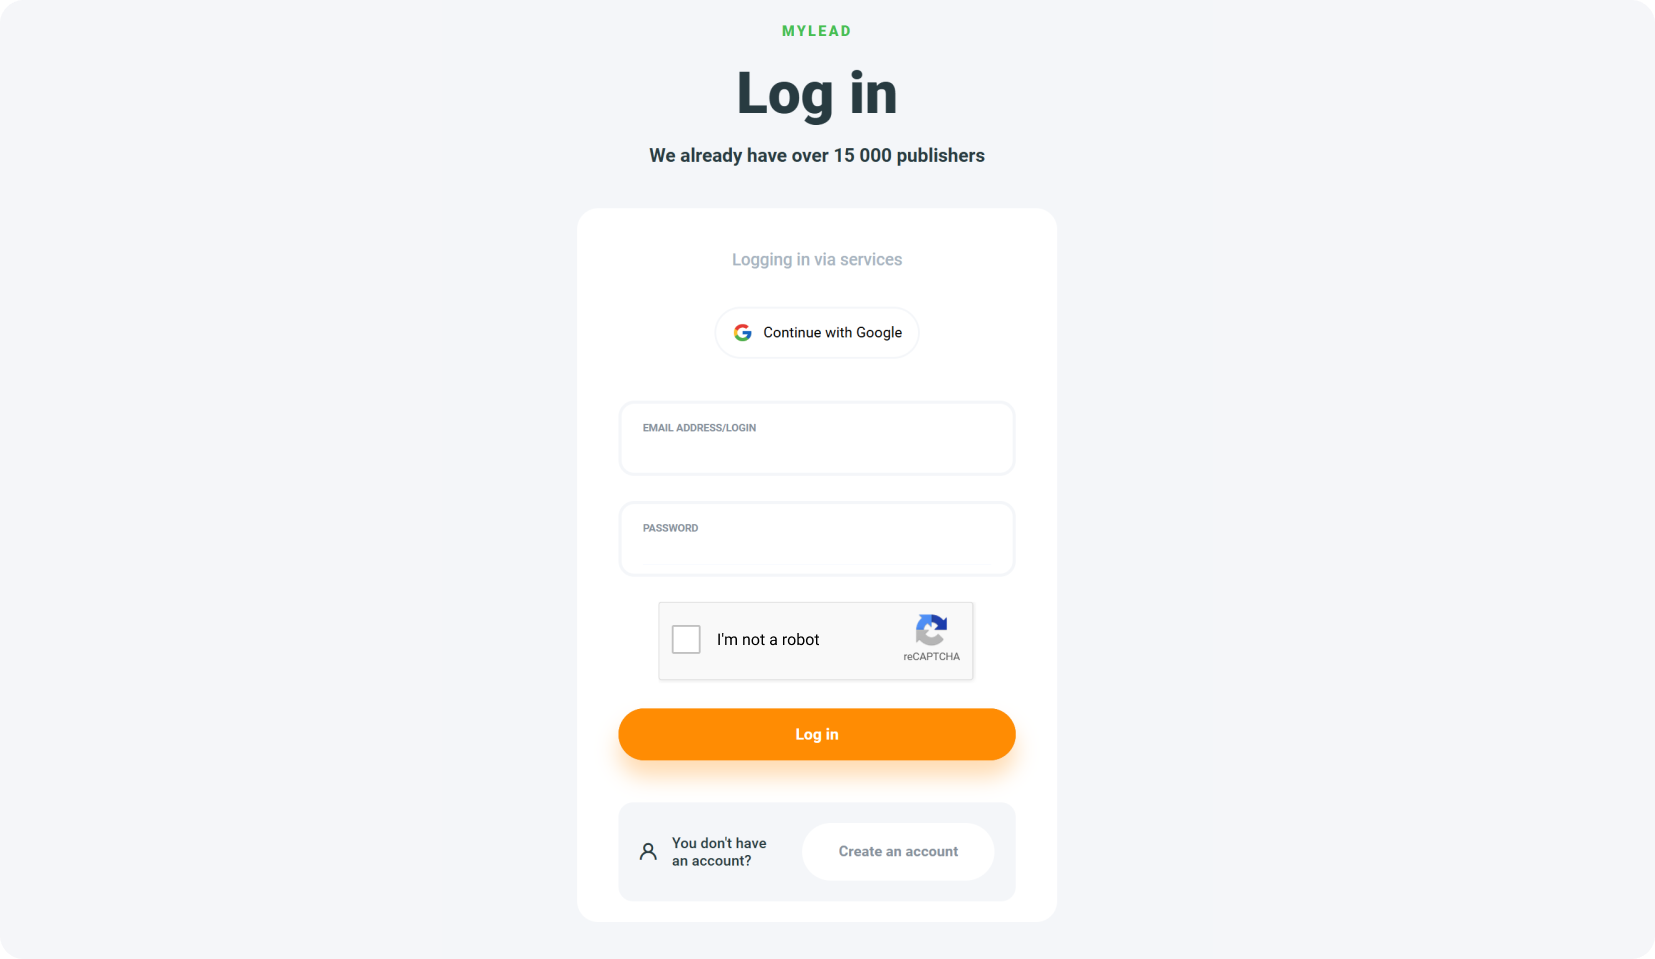
1. Log in to the MyLead site and go to the publisher panel.

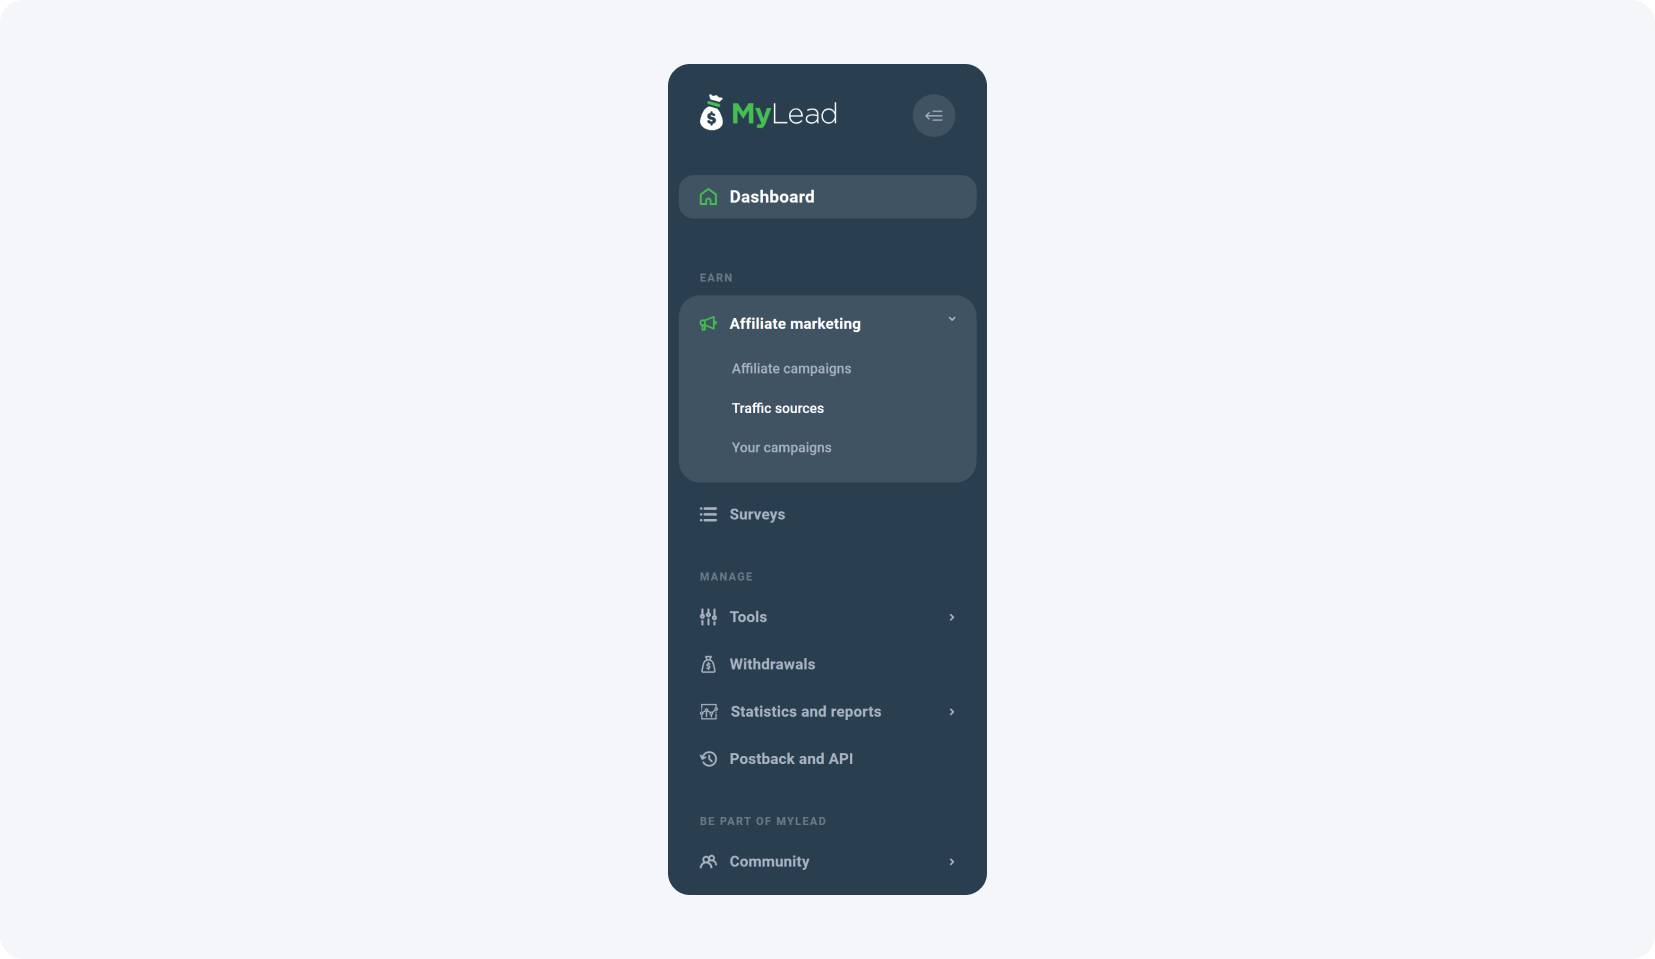
2. Click the arrow in “Affiliate marketing” section on the left nav bar to unfold the list.

3. Select "Traffic sources"
4. In the "My traffic sources" section, click the big orange button "Add a traffic source".

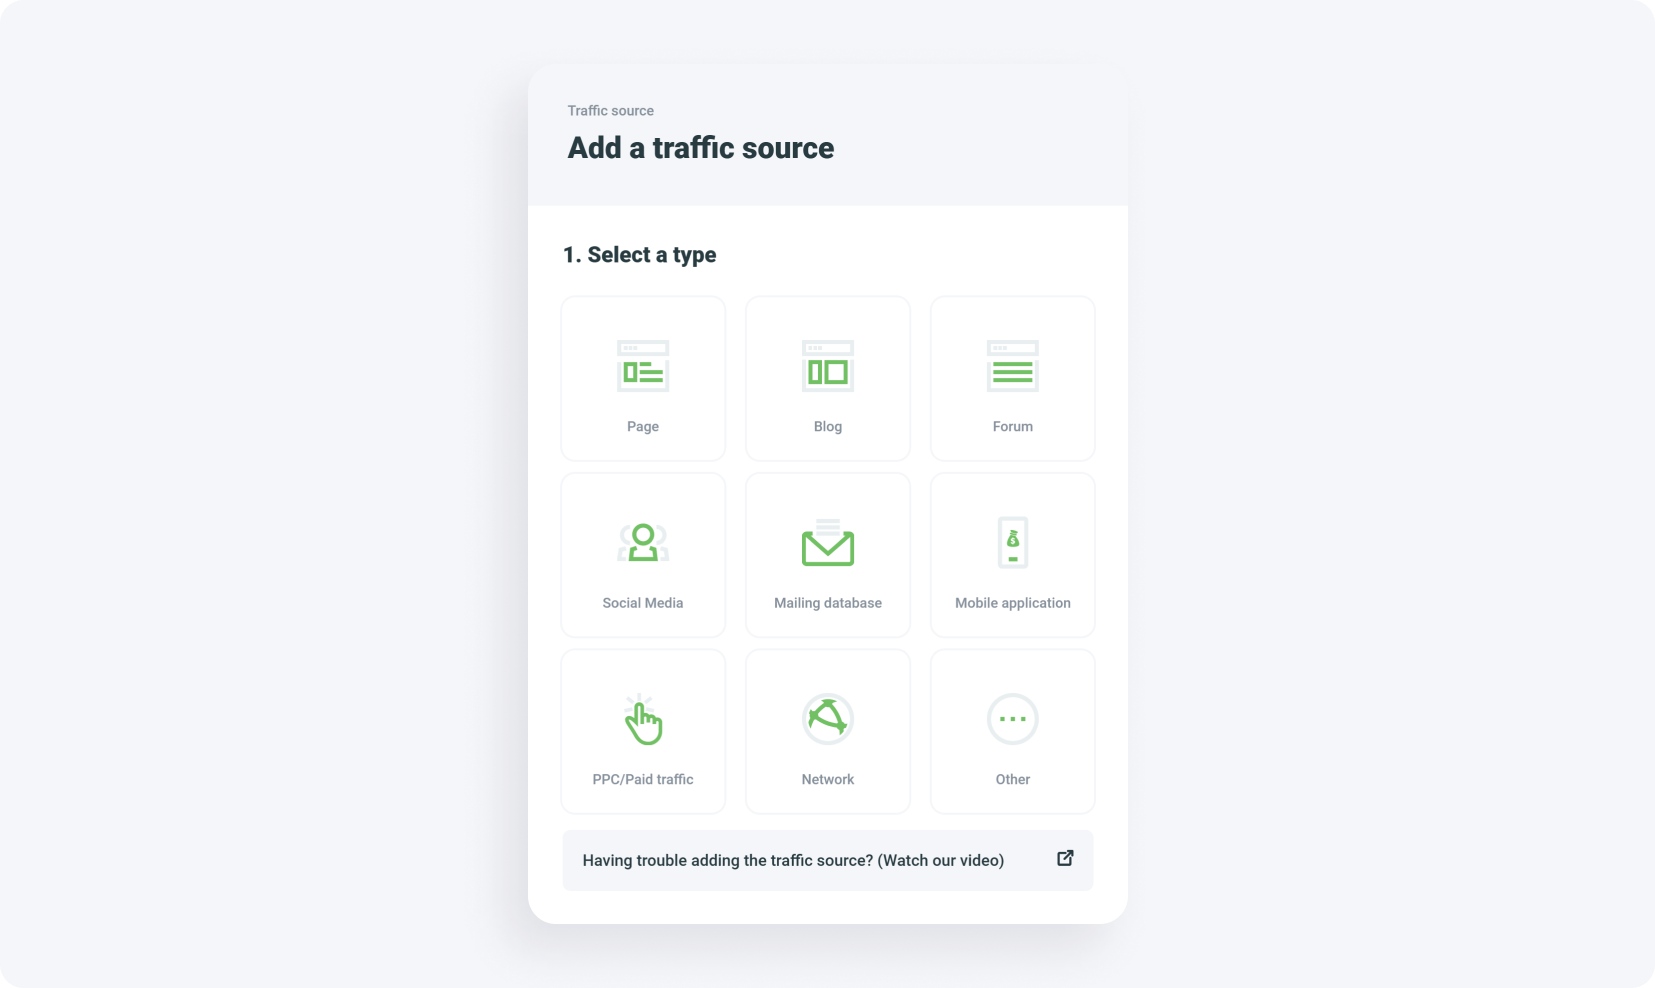
5. Choose the right traffic source, matching it to where you intend to promote this program (You will read more about this in the next section of the text).

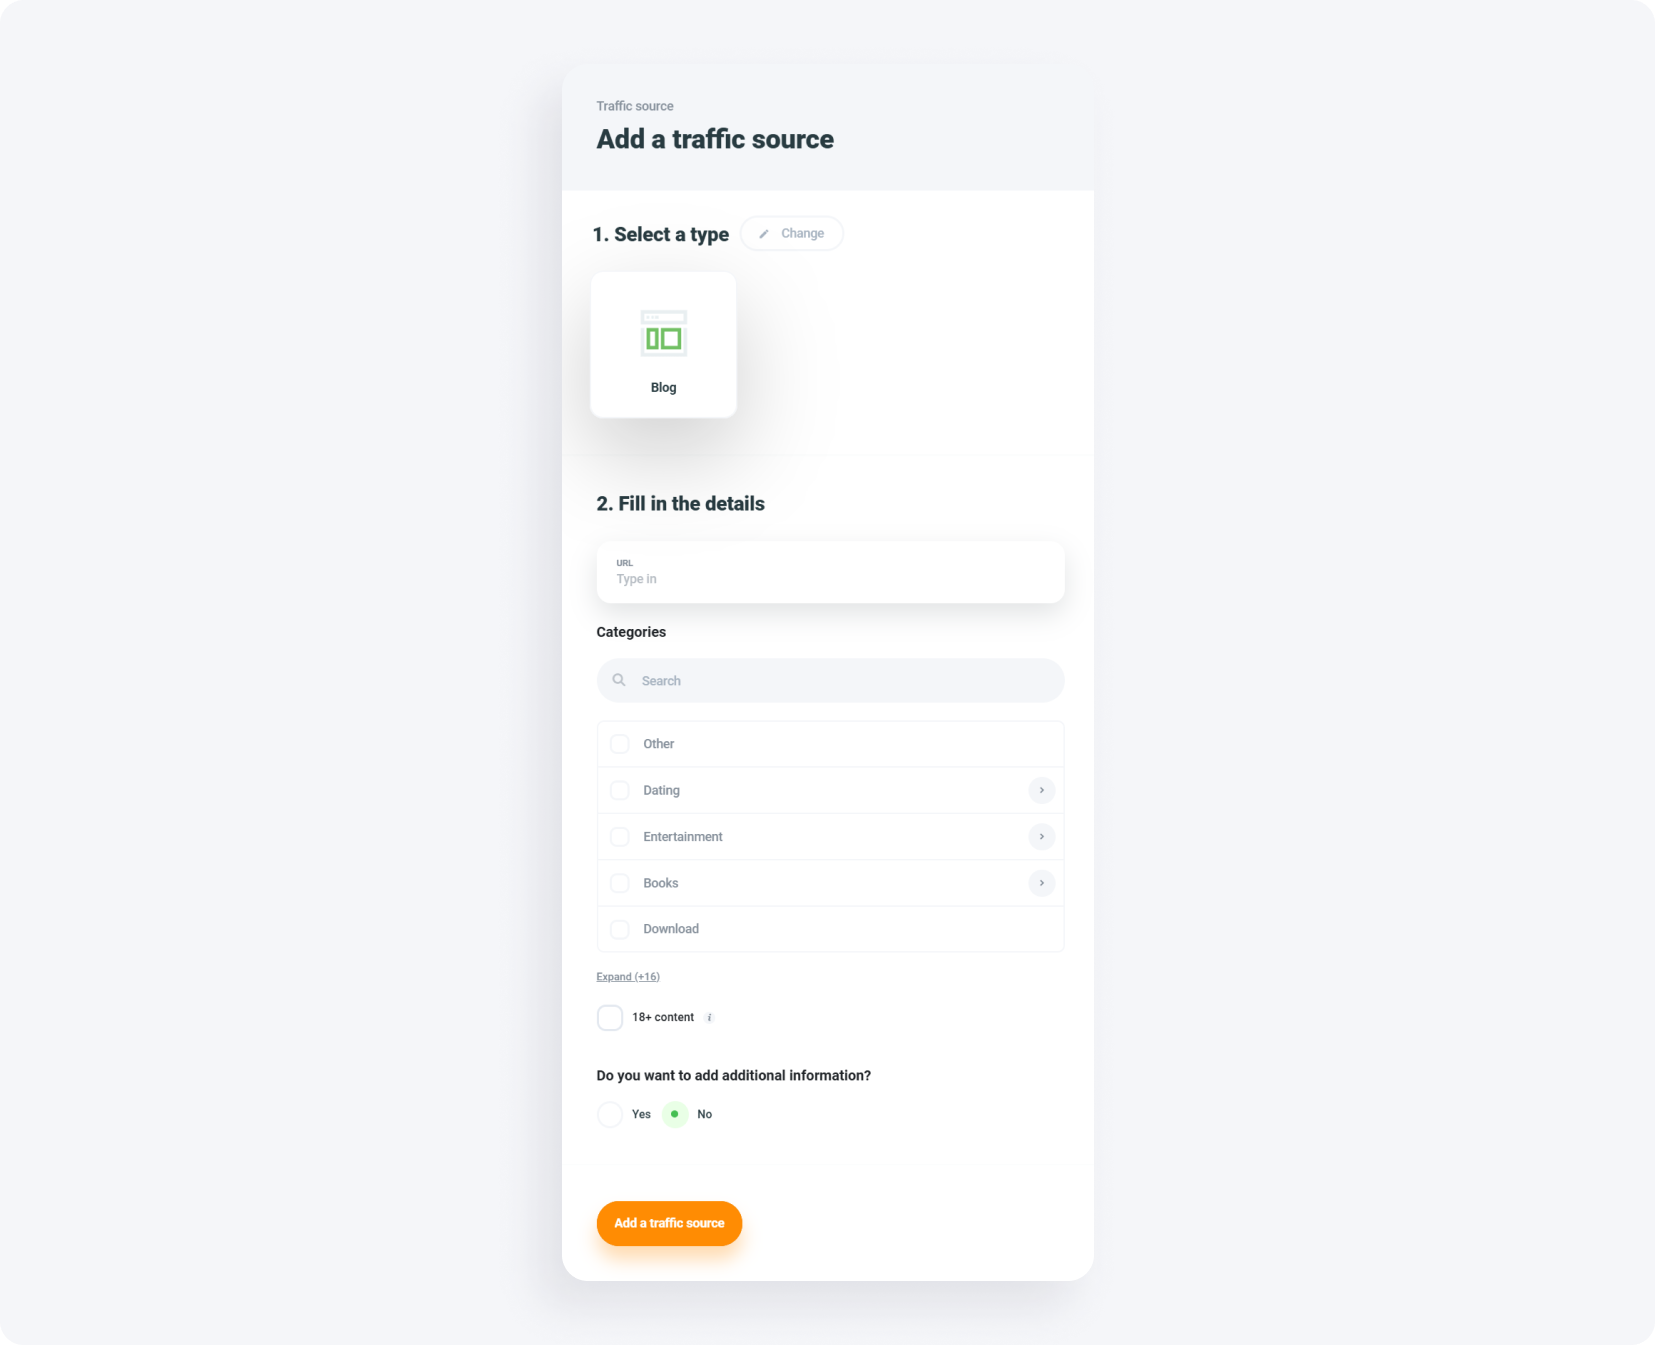
6. Fill in all the necessary information. It is better to be too detailed than not detailed enough.

7. After ensuring you have filled in everything, confirm by clicking the "Add a traffic source" button.

As your traffic source is approved, you will receive a notification in the panel and a message sent to your email address.
Notifications received indicate that the traffic source has been correctly added and approved. However, there may be situations where there is information about its rejection instead of such messages. In a section addressing issues related to adding a traffic source, we describe this situation in more detail in the subsequent parts of the text.
Types of traffic source - which to choose?
Affiliate marketing is constantly evolving, offering a choice among many traffic sources through which publishers can promote their affiliate links. Each of them is different, and the promotion of programs takes place in a completely different way. What traffic sources are available for MyLead users? Below we have listed all available options:
Web Page
This category includes traffic generated through a specific web page, typically a landing page or website. For example, a dedicated landing page created to promote a specific product could feature detailed information, benefits, and a call to action for visitors to make a purchase.
Blog
This category includes traffic from a blog where the affiliate creates and publishes content related to the promoted offers. Blogs provide an opportunity for in-depth reviews, tutorials, and other informative content.
Forum
This category involves participating in online forums relevant to the niche or industry. Affiliates engage with forum members, sharing insights and information. They may include links to their affiliate offers in their forum signatures or posts—for example, a fitness forum providing valuable advice on workout routines. The affiliate may include a link to fitness equipment in the forum signature.
Social Media
This category includes traffic generated through social media platforms such as Facebook, Instagram, Twitter, and LinkedIn. This does not apply to paid ads on social media. Affiliates create and share content, including affiliate links, with their followers.
Mailing Database
This category involves sending promotional emails to a list of subscribers. Affiliates leverage their email list to share offers, promotions, and updates to a targeted audience.
Mobile Application
This category includes traffic that comes from users of a mobile application where affiliates promote products or services. This could involve in-app advertisements or direct promotions within the app.
PPC/Paid Traffic
This category involves paying for traffic through online advertising platforms like Google Ads, Facebook Ads, or Pop/Push traffic. Affiliates bid on keywords or demographics to display their ads to a targeted audience.
Network
This category refers to traffic generated within an affiliate marketing network. If you represent an affiliate network and have your own publishers who can promote affiliate programs, this category is specially designed for you.
Other
This category is a catch-all for unconventional or specific traffic sources that may not fit the above categories. This could include unique strategies or platforms tailored to a particular niche.
Traffic source verification
After adding a traffic source to the panel and submitting an application, it must be verified. This is simply a confirmation that the specified site, fan page, or social media account belongs to you.
Self-verification of the traffic source
In many cases, you can verify the traffic source yourself. Self-verification of websites involves using a Meta Tag or an HTML comment. All you need to do is paste a short code that you will receive from us into your site's source.
When it comes to verifying profiles on social media, you can use a ready-made token. It is a string of letters and numbers that, when pasted in the right place, for example, on your fan page, will allow you to verify the added site.
If the above verification methods do not work, you can always contact our Support team, which will guide you through each step and indicate what needs to be done.
Common problems with adding traffic sources
Adding a traffic source and its verification may seem straightforward, especially if you follow the described guidelines. However, mistakes can occur. What if the traffic source is rejected by Support? First of all, you will receive a notification in the panel, which will inform you about the reason for the rejection. Every time it will be described in detail. Additionally, in the traffic source tab, the link you indicated will appear as rejected. Such notifications indicate that you need to repeat the process and add your traffic source again. However, before taking further steps, we recommend that you familiarize yourself with the reason for the rejection and analyze it thoroughly.
It's worthwhile to familiarize yourself with the most common mistakes users make so that you can avoid them and minimize the risk of rejection.
The most common problems with adding a traffic source by publishers are:
• pasting an incorrect link to the website or form;
• pasting the correct link to a website that is, however, located on a non-functioning domain;
• pasting a link to a specific YouTube video, instead of the main channel;
• selecting the wrong traffic source category;
• failure to confirm ownership of a particular website/profile/fanpage.
Another frequent issue with adding a traffic source is receiving a message that it has already been used by another user. What to do in such a situation? The best solution is to contact MyLead Support. This situation means that someone else has listed your domain, social media platform, or channel as their own traffic source, and it will be necessary to clarify the situation.
All the described problems can lead to rejection. Make sure that when filling out the form, you did not make the above mistakes to streamline the entire process.
How to correctly go through the form and reduce rejections?

What should you pay attention to when filling out the form?
• First, make sure that the URL is pasted correctly - Check to ensure that you didn't cut off any part of the link, didn't add an unnecessary space, or any extra character. All such errors will indicate that the provided link is incorrect.
• Next, make sure the website you indicated works and loads correctly. Don't paste links to websites whose domain isn't functioning or that display various errors while loading, e.g., a 404 error.
• Check if you filled in the affiliate program categories correctly - the traffic source is accepted based on the categories you filled in. It's essential to verify that the affiliate program category you selected is accurate and aligns with your goals.
• Fill in additional information, such as age, gender, or the country of origin of your target group, if you have this knowledge. It's worth going through this step, as the Support will then have more information about your traffic source, and you increase the chances of its acceptance.
• Lastly, indicate whether the content is intended for adults - if you want to promote adult content, it's essential to mark this in the form.
Conclusion
Adding a traffic source is essential to start promoting affiliate programs. For many, especially novice publishers, choosing the right traffic source can be challenging. First and foremost, it's worth considering which affiliate programs you want to promote and matching the promotion channel to them. Additionally, new users can always count on the assistance of our Support team and mentors. They are able to help every publisher match the right program and traffic source, according to their individual needs and preferences. It's also crucial to go through all the steps of the form in detail to minimize the risk of rejecting the traffic source. Knowing the most common issues will certainly help you avoid mistakes and ensure you're aware of how to add them correctly.
Have any questions? Feel free to reach us through our channels.